Yields approximately 1 Cup (1/2 lb.) of Sprouts.
Seed Prep
Measure out 4 Tablespoons of seed*
Rinse your seeds to remove dust or debris.
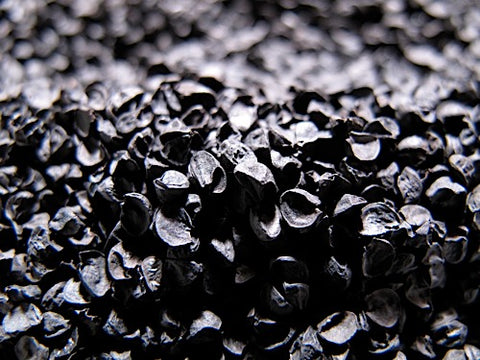
There tends to be some plant matter in with the seeds of Alliums. This plant matter is nothing but small pieces of the plants which the seeds grew on. This plant matter has so far eluded the massive seed cleaning methods used on sprouting seed.
They will not elude you! These dry plant bits usually float, so the perfect time to get rid of them is before you Soak - during seed Prep and/or after the seeds have soaked for 8 - 12 hours -
pour off the floating stuff. You can help by stirring the seeds up - thus helping any non-floating bits to surface from below. Easy isn't it?
Soak
Transfer your seeds into your Sprouter (if necessary), or a bowl.
Add 2-3 times as much cool (60-70 degree) water.
Mix seeds up to assure even water contact for all.
Alliums tend to float. Try to sink those that do by knocking them down with your fingers. Most of those floating seeds will sink during the hours they are soaking, but it is a good habit to pay attention to your seed's needs, and this is the
perfect place to start!
Allow seeds to Soak for 8-12 hours.
Sprouting
Empty the seeds into your Sprouter (if necessary).
Drain off the soak water.
You can use it - it has nutrients in it.
Rinse thoroughly with cool (60-70°) water.
Drain thoroughly.
Set your Sprouter anywhere out of direct sunlight and at room temperature (70° is optimal) between Rinses.
This is where your sprouts do their growing. We use a counter top - in the corner of our kitchen, but where the sprouter won't get knocked over by cats, dogs, kids or us.
We don't mind the indirect sunlight or the 150 watts of incandescent light, because light just does not matter much.
A plant can only perform photosynthesis when it has leaves. Until a plant has leaves, light has little if any effect. Sprouts also happen to like air-circulation, so don't hide your sprouts.
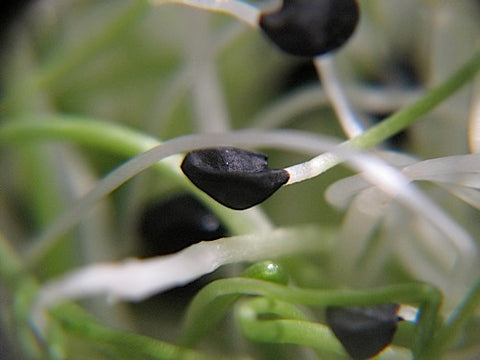
This is most true with Alliums because they can begin photosynthesis as soon as they sprout. Unlike other seeds, Alliums sprout their plant first,
not their Root.
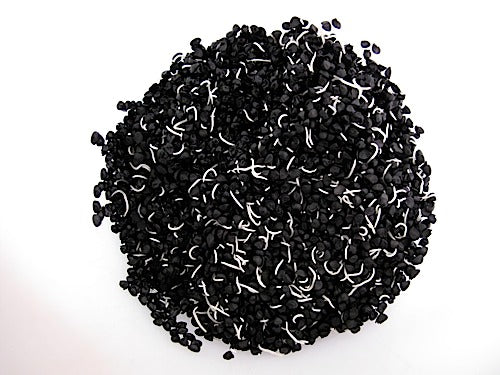
8-12 Hours Later:
Rinse and Drain again
Alliums take A LONG TIME to germinate!
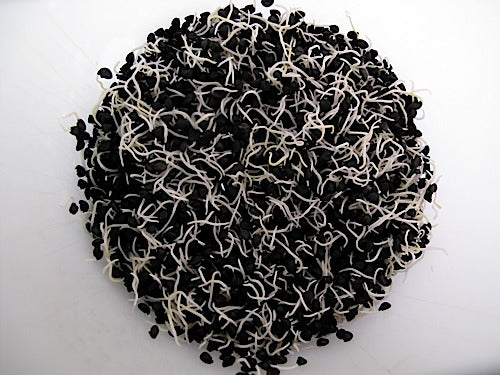
Continue Rinsing and Draining Thoroughly, 2-3 times a day.
You will be Rinsing and Draining this crop for 10-15 days.
You should see some sprouting action in between 4 and 7 days. Don't give up - EVER - they will sprout!
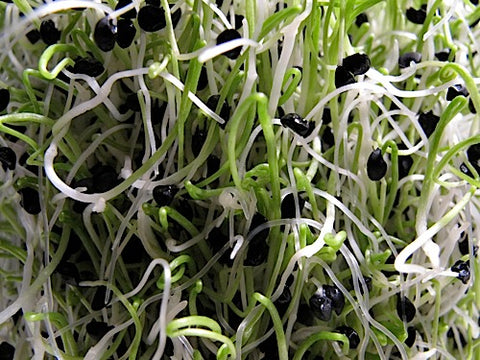
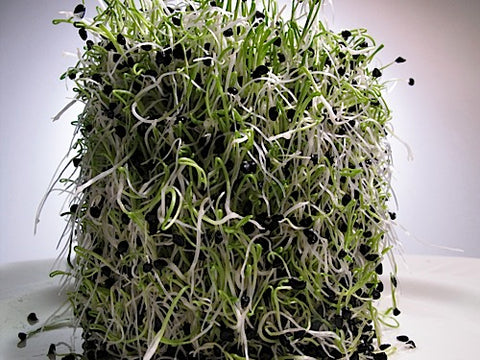
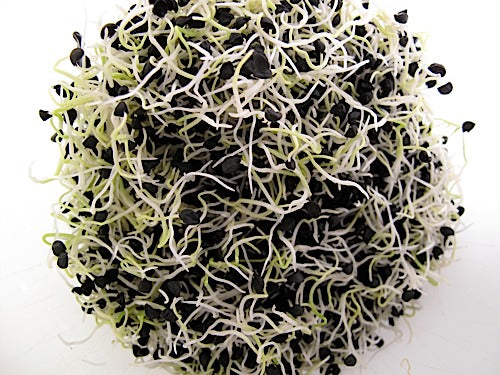
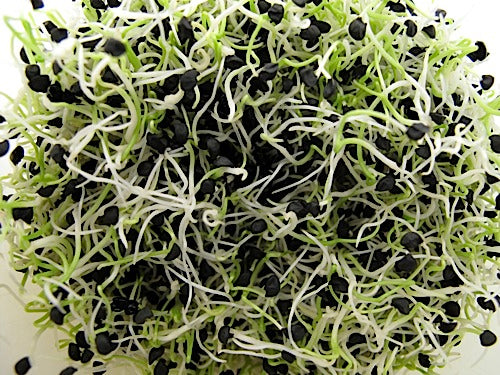
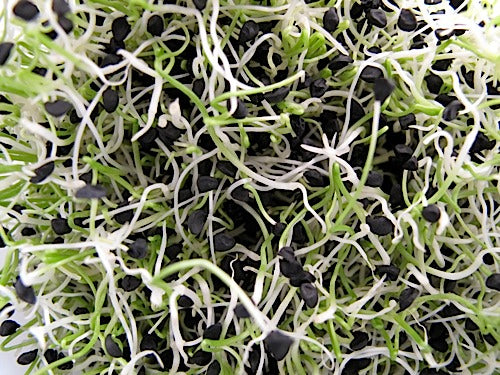
Note: Alliums are unique in that the sprout they produce is actually the plant - as opposed to the Root - which is what almost all other seeds produce during the sprouting
process. These plants look like - and are - tiny little Greens - like micro-scallions! As soon as these micro-scallions emerge from the seed they are able to take up light - because they are the leaf! You don't have to do anything drastic but you can move on to......
Greening
Once you see sprouting, Relocate your sprouts - if necessary.
If you've been keeping them away from light for some reason, move them. Avoid direct sun - it can cook your sprouts. Indirect sunlight is best but virtually any light will do. Experiment - you will be amazed at how little light sprouts require to green up.
Continue to Rinse and Drain every 8-12 hours.
As long as you grow: You have to keep your sprouts happy.
Finishing
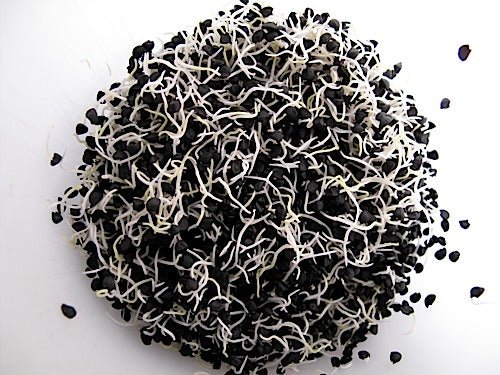
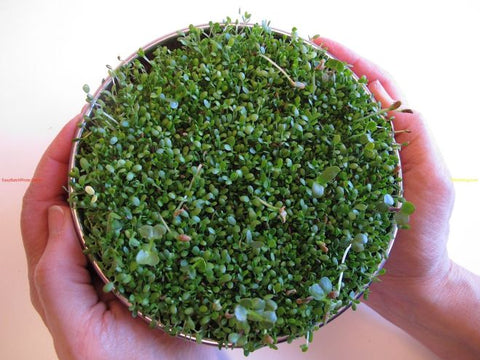
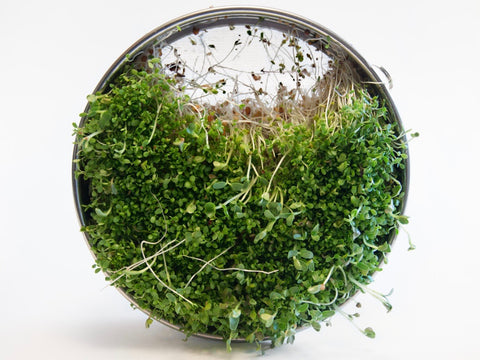
Your sprouts will be done between day 10 and 15.
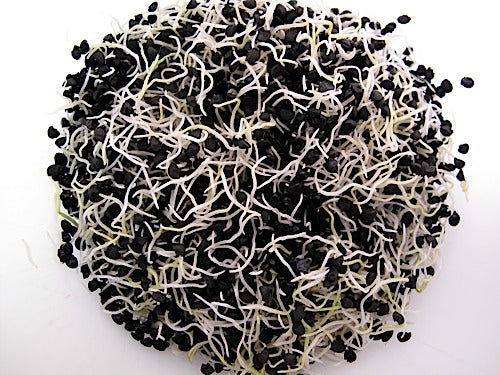
The majority of sprouts will have long thin micro-scallions, which will be green if you exposed them to light. You can eat them at any length but if you let them get to an inch or more the seed itself will be more tender.
The seed of an Alliums is pretty intense. Though they can not be dehulled like some crops - if you grow for a long enough time, some of the seeds will fall away from the sprout.
Harvest
These sprouts can not be De-Hulled like some crops, but you can use our Dehuller, or any salad spinner after your final Rinse.
Doing so will allow the seeds that have fallen off the sprouts, to fall to the bottom - and hopefully, through the device's mesh, as well as allowing you to go directly to refrigeration with your crop - after spinning it dry.
If you are not using such a device...
Your sprouts are done 8-12 hours after your final Rinse.
After the final Rinse we need to Drain Very Thoroughly and let our sprouts dry a bit.
If we minimize the surface moisture of our sprouts they store much better in refrigeration, so we let them sit for 8-12 hours....
Refrigerate
Transfer the sprout crop to a plastic bag or the sealed container of your choice.
We have Produce Storage Bags that can extend shelf life substantially.
When it comes to knowing if your sprouts are still fresh after they've been in the fridge for a while, we often rely on smell. When checking Allium sprouts, remember what they smell like when you harvested them,
so you don't mistake their smell for them having gone bad. The smell they share is nothing like the smell of decomposition, but I wanted to make sure you knew about their massive aroma.
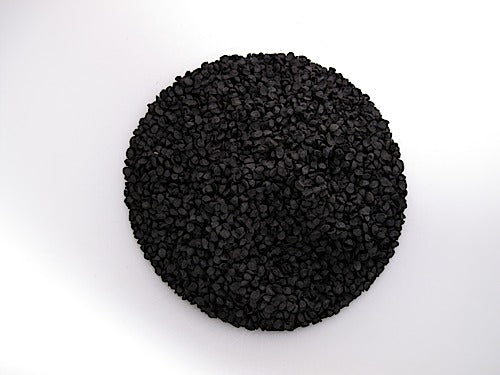
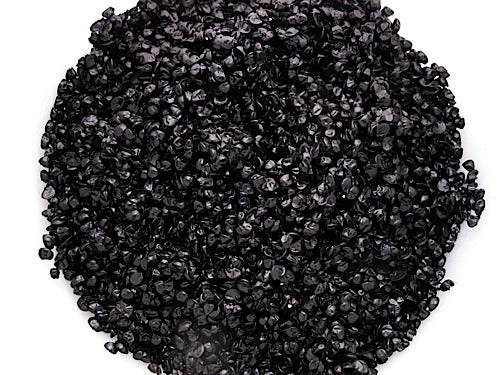
*Seed to Use
* If using Sproutpeople's Single Harvest Pack - use the whole bag (for a one-quart Sprouter). It will produce a crop of approximately 8 ounces.
These seeds yield approximately 4:1 - which means the sprouts will weigh 4 times as much as the seed you start with, but, they will increase even more in volume - so don't start with more than 4 Tablespoons per quart/litre of sprouter capacity,
at least until you are familiar with your crop.