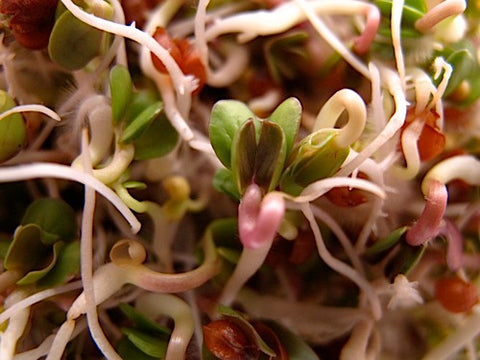
Hot Squared Sprout Mix
Daikon Radish & Oriental Mustard
How much more hot can it get? None more Hot! The spiciest Brassicas come together to create the very tasty Hot Squared! For those who didn't know: 2 = Squared. It's a math thing - you knew that, didn't you?.
How to Grow Hot Squared Sprout Mix
- Soak 3 Tbs. of seed in cool water for 4-12 hours.
- Drain off soak water. Do not ever soak again.
- Rinse thoroughly.
- Drain Thoroughly.
- Rinse and Drain with cool water every 8-12 hours.
- On day 3, move your Sprouter to indirect sunlight.
- Continue to Rinse and Drain every 8-12 hours.
- Harvest on day 5 or 6, when the leaves are open and most of them are green.
- De-Hull your crop if you like, before Refrigerating.
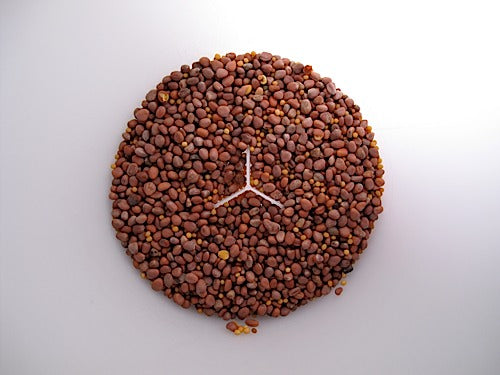
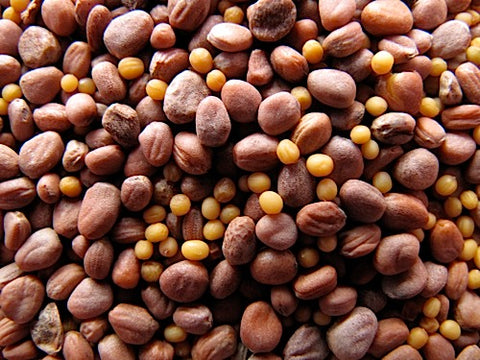
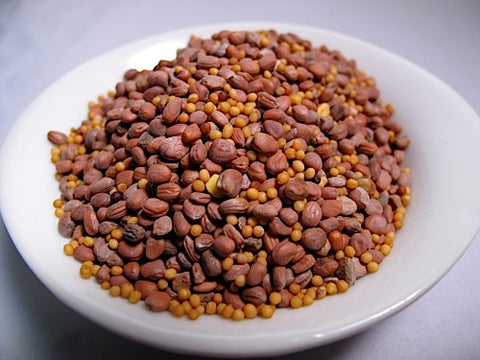
Dry Hot2 Ready to Soak.
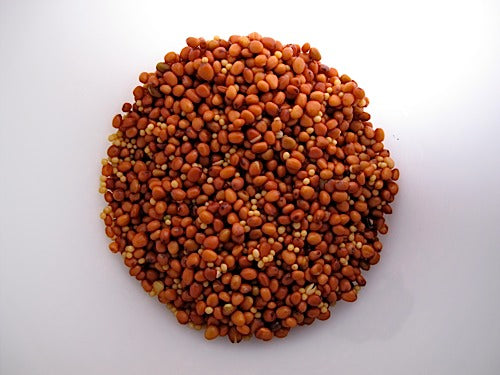
12 hours later... Soaked, Rinsed andDrained thoroughly.
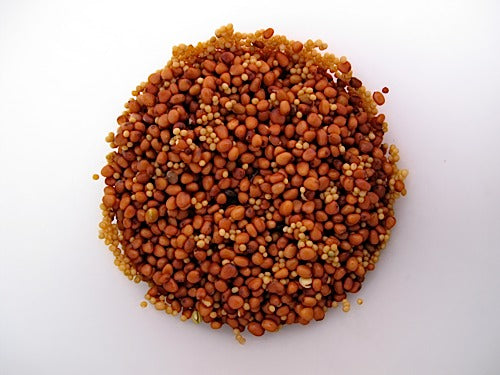
12 hours later... Another Rinse/Drain cycle.
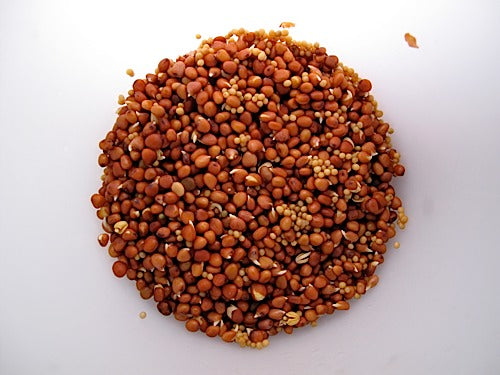
12 hours later... Another Rinse/Drain cycle.
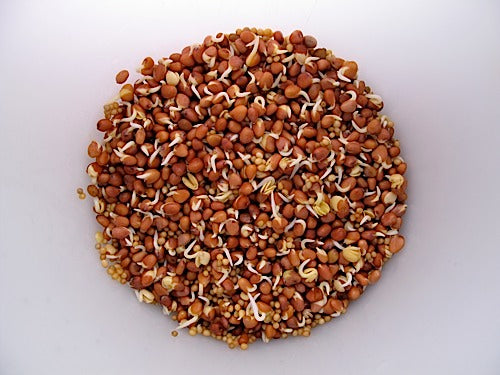
12 hours later... Another Rinse/Drain cycle.
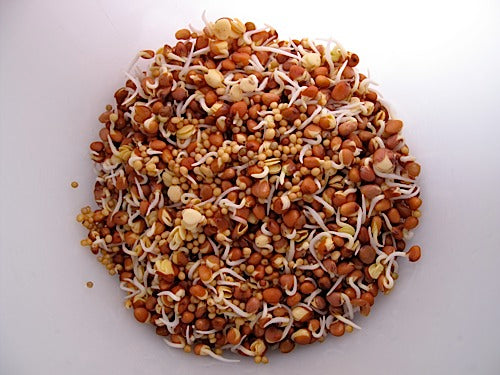
12 hours later... Another Rinse/Drain cycle.
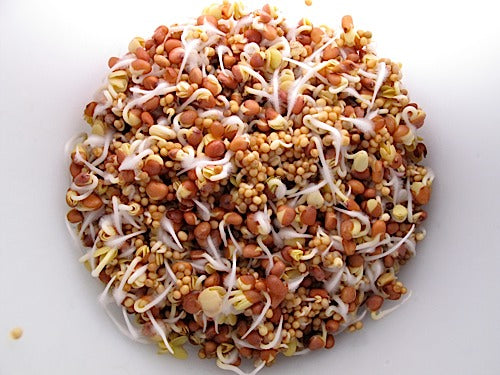
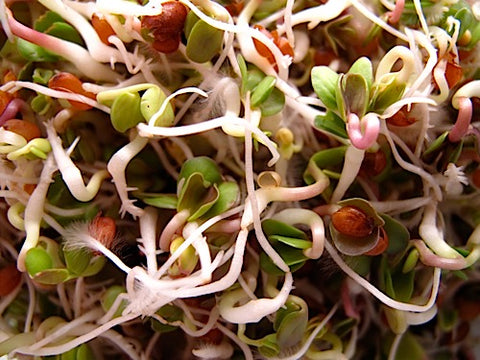
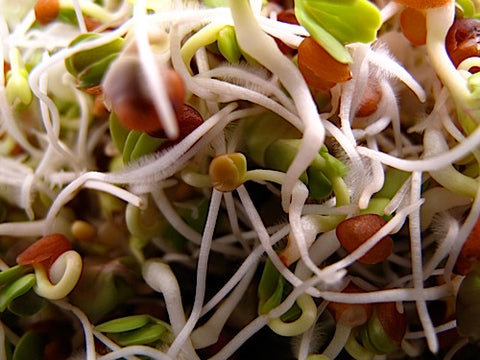
12 hours later... Another Rinse/Drain cycle. When you look at your sprouts - 12ish hours since you last looked at them - you will see fuzz on them. That is not mold! You are seeing microscopic roots: Root Hairs. You may have seen them earlier, and you'll see them in the future. Rinsing makes them fall back against the tap root. They seem to disappear, but as the sprouts dry - in the next 12 hours - they unfurl again as you will see. You should see them with a Magnifying Glass. Amazing!
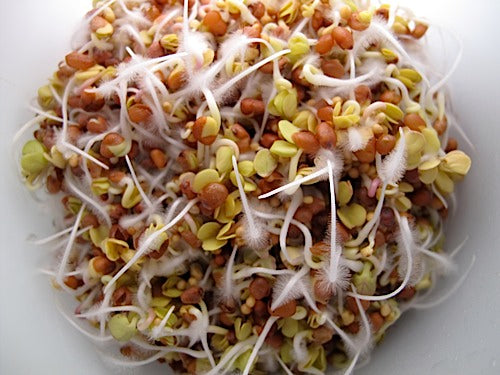
12 hours later... Another Rinse/Drain cycle.
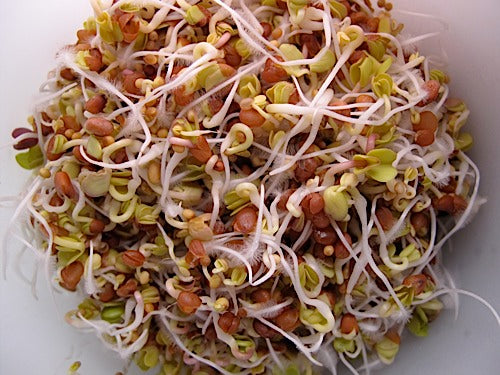
12 hours later... Another Rinse/Drain cycle.
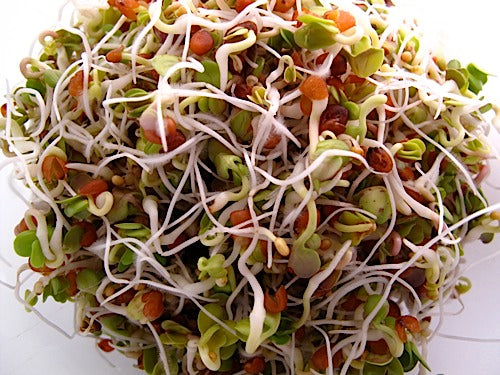
12 hours later... Another Rinse/Drain cycle.
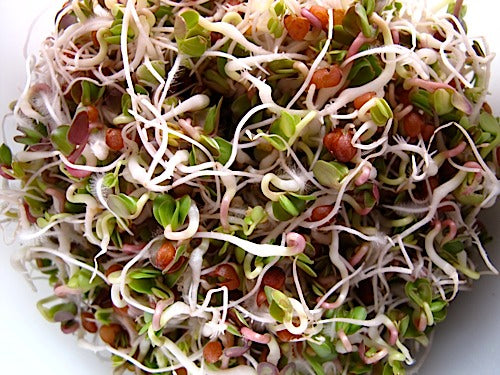
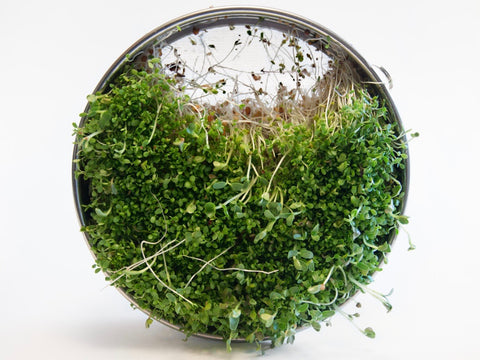
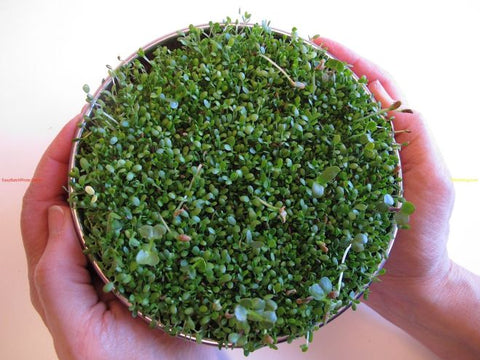
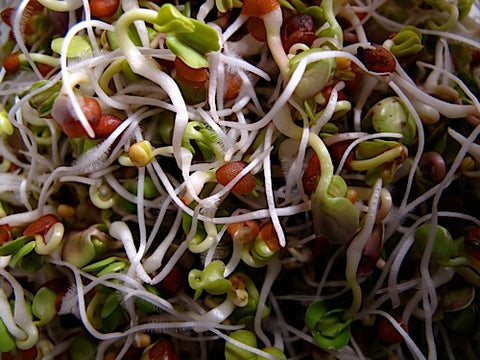
12 hours later... Harvest Time!

Dry Hot2 Ready to Soak.

12 hours later... Soaked, Rinsed andDrained thoroughly.

12 hours later... Another Rinse/Drain cycle.

12 hours later... Another Rinse/Drain cycle.

12 hours later... Another Rinse/Drain cycle.

12 hours later... Another Rinse/Drain cycle.

12 hours later... Another Rinse/Drain cycle. When you look at your sprouts - 12ish hours since you last looked at them - you will see fuzz on them. That is not mold! You are seeing microscopic roots: Root Hairs. You may have seen them earlier, and you'll see them in the future. Rinsing makes them fall back against the tap root. They seem to disappear, but as the sprouts dry - in the next 12 hours - they unfurl again as you will see. You should see them with a Magnifying Glass. Amazing!

12 hours later... Another Rinse/Drain cycle.

12 hours later... Another Rinse/Drain cycle.

12 hours later... Another Rinse/Drain cycle.

12 hours later... Harvest Time!
Yields approximately 4 Cups (1/2 lb.) of Sprouts
Seed Prep
Measure out 3 Tablespoons of seed* (slightly heaping) into your Sprouter or a strainer.
Rinse your seeds to remove dust and debris.
Soak
Transfer your seeds into your Sprouter (if necessary), or to a bowl.
Mix seeds up as you slowly add water to assure even water contact for all.
Add 2-3 times as much cool (70-80°F) water. Allow seeds to Soak for 4-12 hours.
Do Not Ever Soak Again. Soaking is done only this one time.
We start counting days at this point - when the Soak is done (post-Soak is the phrase we use).
A crop of Brassica Sprouts usually takes 5 days - from This point in time to harvest.
Sprouting
Empty the seeds into your Sprouter (if necessary).
Drain off the soak water.
You can use it - it has nutrients in it. We use it on house plants.
Rinse thoroughly with cool (70-80°F) water.
Drain thoroughly.
Draining Thoroughly (Maniacally even) is the key to great crops. The smaller the seed (all Brassica Sprouts are small seeds) the more thorough you must be. Do Not skimp on Rinsing - but focus seriously on Draining.
If you need to see what we mean by Thorough Draining - check out our videos.
Set your Sprouter anywhere out of direct sunlight and at room temperature (70° is optimal) between Rinses.
This is where your sprouts do their growing. We use a counter top - in the corner of our kitchen, near the sink. Indirect sunlight is fine, as is your regular room light - because light just does not matter much in the first couple days.
A plant can only perform photosynthesis when it has leaves. Until a plant has leaves, light has little if any effect. Sprouts also happen to like air- circulation, so don't hide your sprouts. When leaves do appear, this will be plenty of light for them to green up. You can of course use Grow Lights if you like.
Rinse and Drain again every 8-12 hours for 3 days.
Ther will be more days - but we'll address them when we get there.
Always be sure to Drain very thoroughly. The most common cause of inferior sprouts is inadequate drainage. Even the best designed Sprouting Device holds water, and Brassicas are particularly needy - especially the first couple days - so pay special attention to this step.
Greening
On the 4th day (post soak) relocate your sprouts, if necessary.
If you've been keeping them away from light - move them. Avoid direct sun as it can cook your sprouts, unless you are growing in a Tray Sprouter - in which case direct sunlight is great. Indirect sunlight is best for non-tray Sprouters but grow lights work well too. Experiment - you will be amazed at how little light sprouts require to green up. Photosynthesis is a marvel!
The center of the crop - when grown in a Jar, Easy Sprout, or other non-tray Sprouter, will remain yellow leaved. We've never minded that, but if you want - you can move your crop around - - likely removing it to a large bowl or pot and then returning it to your Sprouter. Do this as often as you like - or (like us) not at all. Grow vertically in a Tray if this is a real concern for you. We imagine everyone who visits us eats plenty of greens, so chlorophyll isn't something we're short of. As always - do as you wish.
Continue to Rinse and Drain thoroughly every 8-12 hours.
Your last Rinse and Drain will be on day 5 - or possibly day 6 (post Soak).
Always Drain Thoroughly.
Finishing
Your sprouts will be done about the end of day 5.
The majority of sprouts will have open leaves which will be green. You'll recognize them.
De-Hulling
Hulls are the thin coat on a seed. In most cases they seperate themselves from the sprout. They are only a problem when it comes to the shelf life of your finished crop. We've eaten them for years and consider them extra roughage, but the crop looks better and lasts longer without them - so removing them is good. Really, in the case of Brassicas - we suggest you do it. Their hulls are thicker than most seeds, and so reduce the shelf-life of the crop more dramatically.
You may De-Hull your sprouts at any time during day 5.
If you have a Salad Spinner - De-Hulling can be your last step. You can harvest and refrigerate them immediately after you finish.
You can also remove hulls prior to harvest...
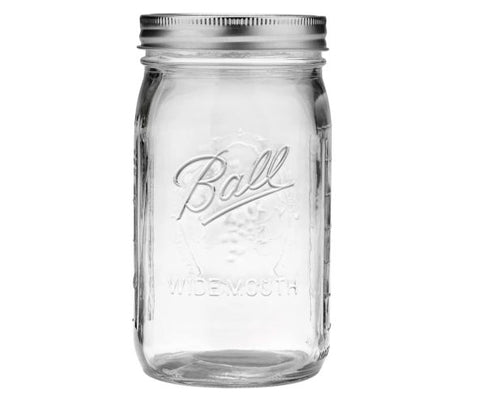
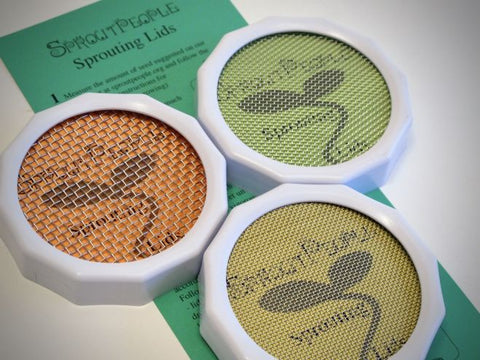
If you are growing in a Jar - using the Coarse Mesh Screen will allow some hulls to float out through the screen while Rinsing. Repeating and agitating your sprouts will allow more hulls to escape.
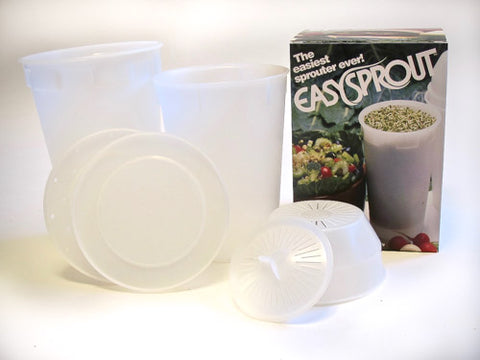
If you're growing in an Easy Sprout Sprouter - transfer your sprouts to the Solid Base, fill with water, and agitate with a fork. This will help hulls get to the surface - where you can skim them off. When you've gotten all you can - move your sprouts back to the Growing Vessel, Rinse again, and Drain Thoroughly.
If you're growing in our Stainless Steel Sprouter you can get rid of most of the hulls by Rinsing Upside Down. Instead of writing words - let us direct you to our short video on the subject - which works well for Brassicas too: Rinsing Leafy Sprouts Upside Down.
Here is our video on De-Hulling.
Harvest
If you Dehulled with a salad spinner - you can go right to refrigeration. If not... Your sprouts are done 8-12 hours after your final Rinse and Very Thorough Draining. If we minimize the surface moisture of our sprouts they store much better in refrigeration, so we let them sit for 8-12 hours after that final - Thoroughly Maniacal Draining.
Storing Your Crop
Transfer your sprout crop to a plastic bag or the sealed container of your choice. If you want extra special bags, we have Produce Storage Bags that can extend shelf life substantially.
Brassica Sprouts are best within a week of harvest, but we've had some crops last for a month in the fridge.
Great work sprout farmer!
*Amount of Seed to Use
* If using Sproutpeople's Single Harvest Pack - use the whole bag (for a one-quart Sprouter). It will produce a crop of approximately 8 ounces.
These seeds yield approximately 4.5:1 - which means the sprouts will weigh 41⁄2 times as much as the seed you start with, but, they will increase even more in volume - so don't start with more than 3 (heaping) Tablespoons per quart/litre of sprouter capacity.
Hot2 is tangy combination of hot brassicas. The Radishes taste exactly like Radishes, the Mustard tastes like horseradish. Mmmmmmmmmmm! The Oriental Mustard is a yellow seed and is the only non-mucilaginous Mustard we've ever seen and therefore the only Mustard you can sprout in a conventional sprouter.
Note: Canadian and US researchers have found that Brassicas contain antioxidants such as sulfurophane. And that a symbiotic relationship exists where combining brassicas increases their total soluble antioxidants. It's a family thing =:-D Radish and Mustard are Brassicas.
When conditions are warm your sprouts will likely grow faster. If their leaves open sooner you should green and de-hull and harvest sooner. Likewise they may grow slower if conditions are very cool. These are just tiny plants - they are not difficult to understand. The more you sprout the better you'll know them and be able to adjust to their needs. As always 70° is optimal and 70° is what our instructions are written for.
All sprouts generate heat while growing, which is a good thing, but it can get out of hand on occasion. When the weather is especially hot and humid you will do well to Rinse more frequently (every 8 hours if possible) using colder water than usual (the coldest your tap can offer is fine), to compensate.
Depending on your sprouting device, not all of your sprouts will have access to light and so some will not green. This is not only OK - it is good. The yellow sprouts will be equally nutritious (they have everything but chlorophyll) and many think them more delicious (in Europe vegetables are often grown "blanched" by avoiding light). We think they are prettier when there is a mix of green and yellow to go with the white roots. So don't sweat it - just eat more sprouts!
It is ESSENTIAL that you keep Brassica sprouts from clumping together and you CAN NOT grow them vertically using a tray sprouter. Brassica sprouts will mat together forming a dense bluish root mass which not only is unattractive but shortens the shelf life of the finished sprouts. So mix ‘em up! We use high water pressure when Rinsing to keep our brassica sprouts loose, but this only works for so long - so - when water isn't enough, break the clump of sprouts up using a fork or your fingers (wash your hands first please, if they need it). If you are using a sprouter that can hold water, fill it mostly full then use a fork to loosen. You can also dump your sprouts onto or into something and just shake them apart. You should never be afraid** of touching your sprouts. They are much stronger then they appear - just be reasonably gentle.
** The only thing to fear is fear itself.
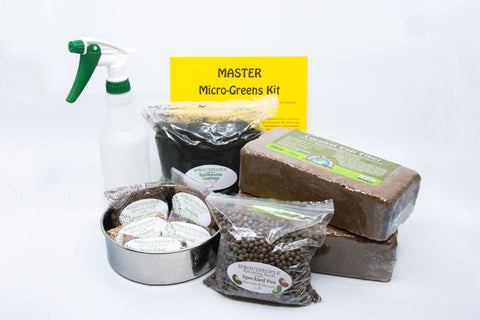
Recommended Sprouters for Hot Squared Sprout Mix
We've been using these for years-they're the best!
Perfect for people who enjoy both radish and mustard, and I enjoy it mainly on top of soups every day along with fenugreek sprouts. This is my favorite raw sprout snack, which is saying a lot as I've had major difficulty with most raw vegetables and fruits this year.
Perfect for people who enjoy both radish and mustard, and I enjoy it mainly on top of soups every day along with fenugreek sprouts. This is my favorite raw sprout snack, which is saying a lot as I've had major difficulty with most raw vegetables and fruits this year.
I am trying all the seeds and beans. Some are so good, but this particular one does not like me. Definitely a little outside of the box flavor wise. I will finish my order eventually, I think, but maybe in small batches mixed with something else.
Sproutpeople: Thanks for your honesty, Terri. These are spicy to be sure - and so not for everyone. You bring up a good point - these can be mixed with any Leafy Sprout we offer and most Brassicas too.

