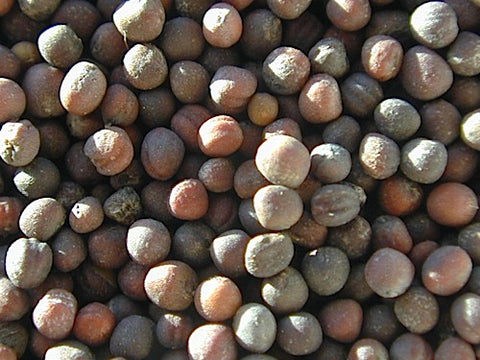
Yields approximately as many Micro-Greens (by weight) as seed "planted"
We put quotes around Planted because the seeds are always spread atop a medium - not planted under.
These seeds can benefit from Soaking and a tiny bit of Pre-Sprouting prior to planting.
You don't have to do this, but it may help produce a better crop if you do. To Soak a seed is to save it the time it takes for it to drink up its fill of water from the medium it is planted atop,
so that alone will save you a day, but wet seeds are more difficult to work with when Planting. As always, we suggest you try variations and see what you like best. Learning is half the fun!
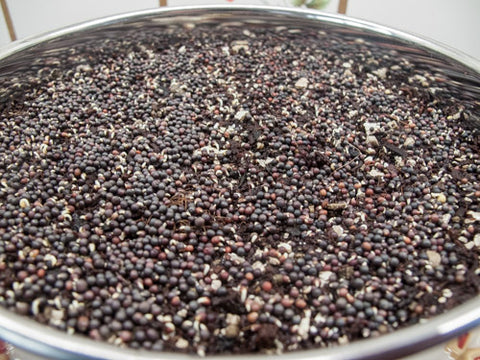
Pre-Sprouting
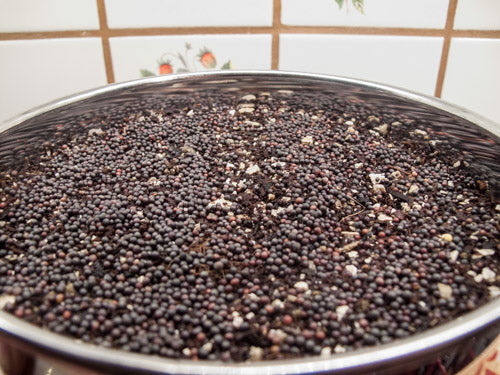
Put seed* into a bowl or your Sprouter.
Add 2-3 times as much cool (60-70°) water.
Mix seeds up to assure even water contact for all.
Allow seeds to Soak for 8-12 hours.
Empty the seeds into your sprouter if necessary.
Drain off the Soak water.
Use it to water plants, or anything else - it has nutrients in it.
Rinse thoroughly with cool (60-70°) water
and Drain thoroughly.
Set anywhere out of direct sunlight and at room temperature (70° is optimal) between Rinses.
This is where your sprouts do their growing. We use a counter top - in the corner of our kitchen, but where the sprouter won't get knocked over by cats, dogs, kids or us. We don't mind the indirect sunlight or the 150 watts of incandescent light, because light just does not matter much.
A plant can only perform photosynthesis when it has leaves. Until then light has little if any effect, so don't hide your sprouts. When leaves appear this will be plenty of light for them to green up!
When we're sprouting Mung Beans we may choose a darker corner, but 99% of the time we just don't avoid light.
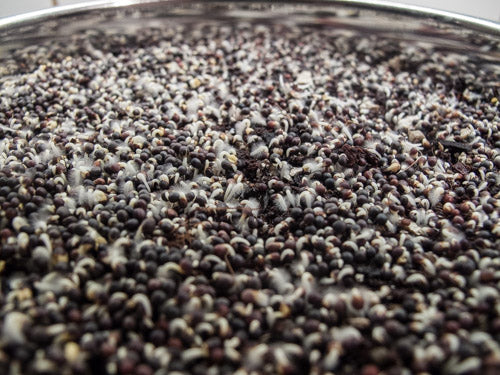
Rinse and Drain again in 8-12 hours.
And, perhaps one more...
Rinse and Drain in 8-12 hours.
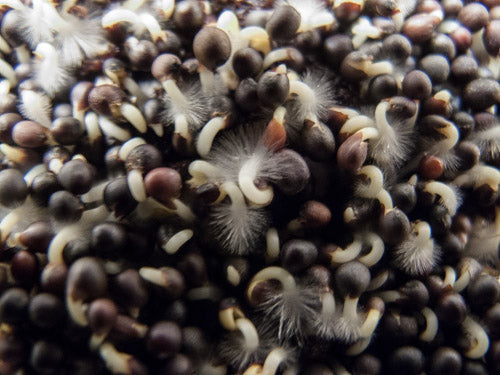
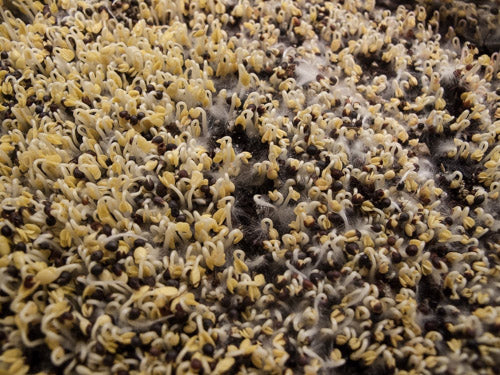
The goal is to have a very small root - or even the first sign of a root - before planting.
However many Rinse and Drain cycles it takes to get to that first sign - or up to a 1/16th inch root - is how long you should Pre-Sprout.
Planting
(see Notes (below) for variations)
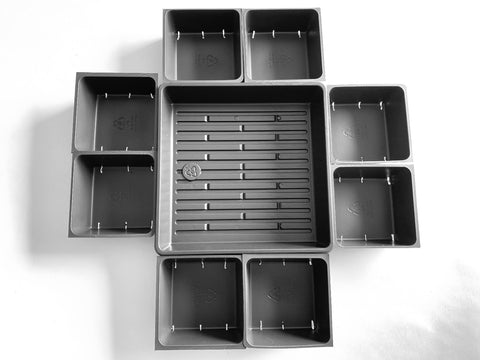
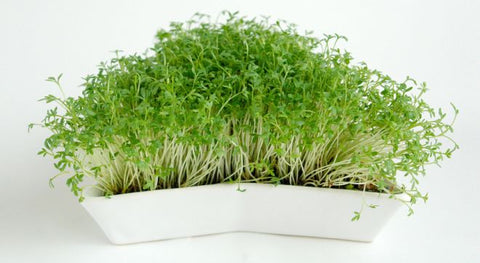
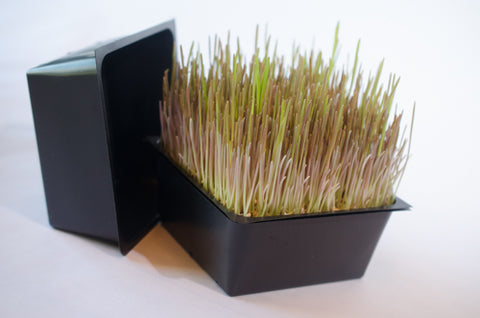
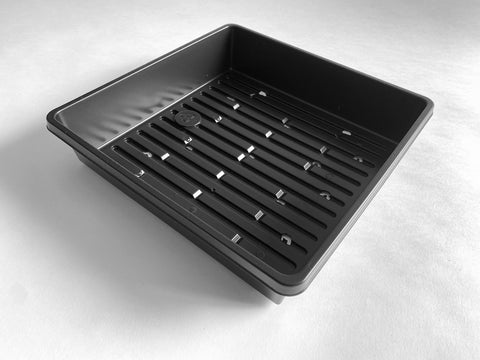
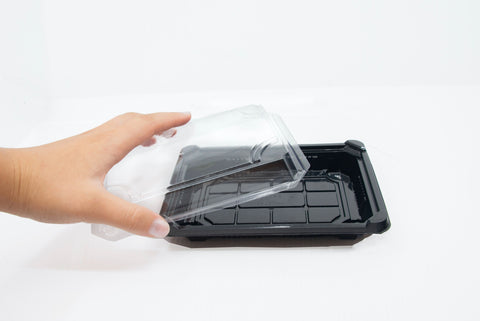
Grow these on soil or Baby Blanket (a soilless medium) in a Tray, on a Hemp Bag, in
our Compostable Tray (which holds Baby Blanket very nicely) or on virtually any moisture retaining medium
(theoretically as minimal as paper towel or fabric - like cheesecloth) you can think of.
Whether you have soaked, pre-sprouted or are starting with dry seed, this is the way to proceed:
Thoroughly moisten the Medium upon which you are going to grow.
Whether you are using a Hemp Bag, Baby Blanket, or another medium - lay it on a plate or in a pan or something -
so that you don't end up watering your counter. If you are using a Tray with drainage slits to hold your medium, put it on a plate or in a solid (Drip) Tray -
or use a plate or pan to capture the water runoff.
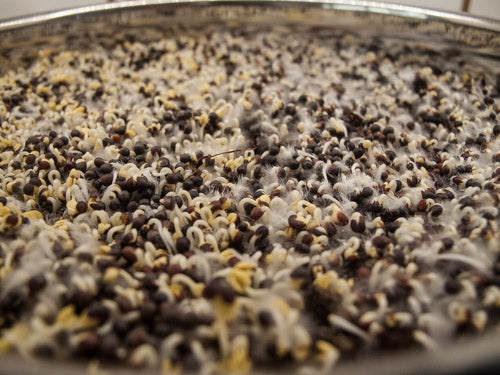
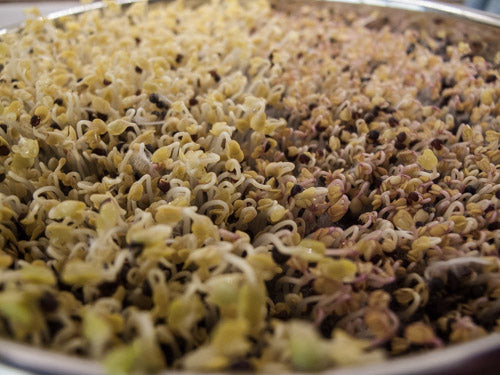
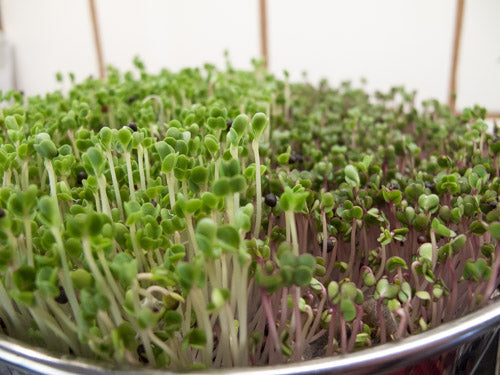
Spread seeds sparsely on your thoroughly moistened medium.
There should be a bit of space around each seed but you are not expected to place them one at a time - just spread them out as much as you can and as evenly as you can, within reason.
You may cover your seeds:
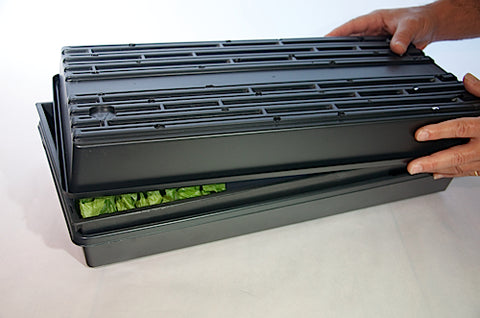
If planting on soil or another medium in a Tray use another identical tray - up side down.
If using a Compostable Tray you can cover the tray for the first 2-3 days.
If using a Hemp Bag, Baby Blanket, or another medium - be creative. If it's on a plate then use an identical plate (upside down) as a cover.
It is not mandatory when growing Micro-Greens to cover them at all. Experiment for yourself and see what works best in your climate/location.
Place your Micro-Garden in a low-light, room temperature location (70° is optimal).
Keep the medium moist - but not soggy - by watering or misting with a Spray Bottle every day.
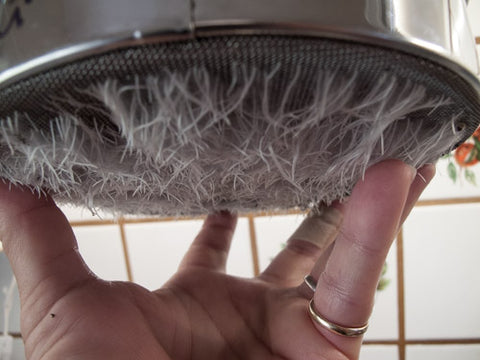
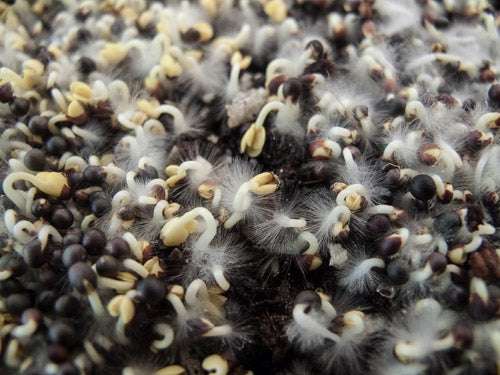
Note: These wonderful little Brassica plants have a unique root structure. Brassicas will show microscopic roots starting around day 3. They are called root hairs and are most visible just before watering - when the plants are at their driest. These root hairs impress many people as mold - but they are not. Now you know. Isn't learning fun?!
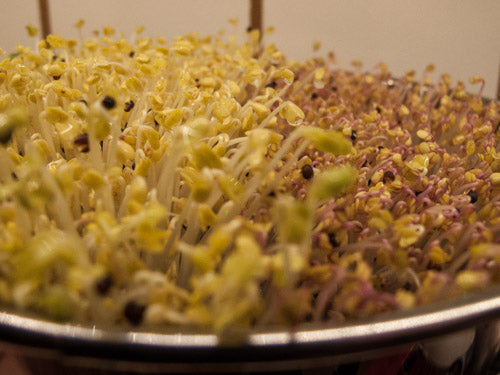
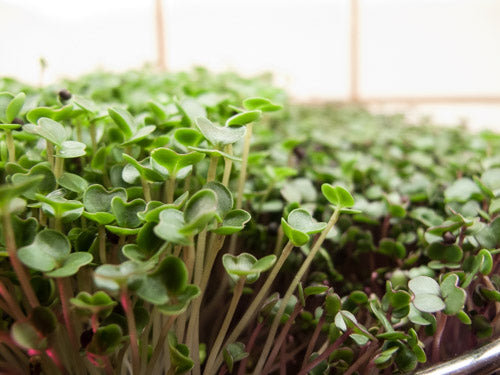
When your plants grow up and begin to shed their hulls they are ready for light so move them (if necessary) to a well lighted location.
If you go with sunlight be prepared to water more frequently. Room light will usually do quite nicely - and will not dry out your medium as quickly.
Keep the medium moist but not soggy by watering regularly.
Water from the side if possible to prevent injuring the tiny plants - especially if you are not using a Spray Bottle.
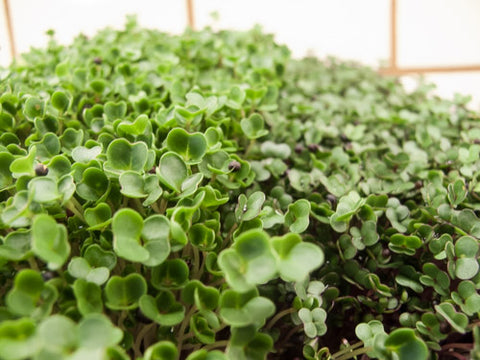
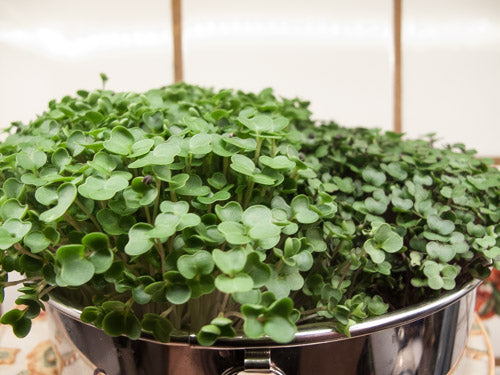
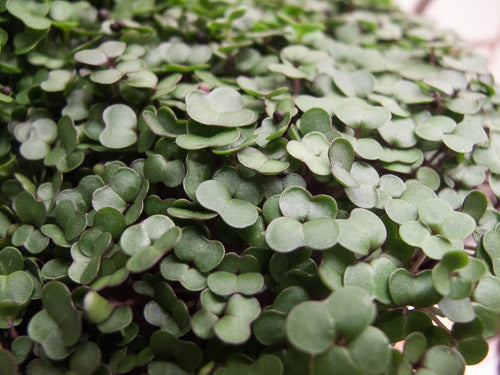
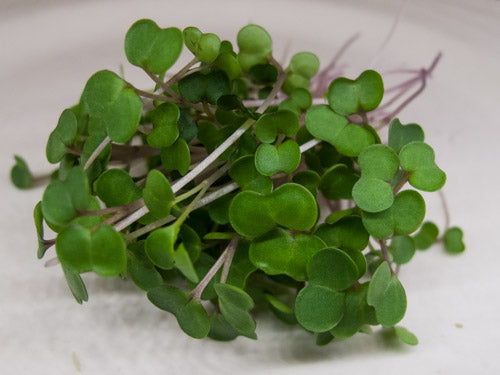
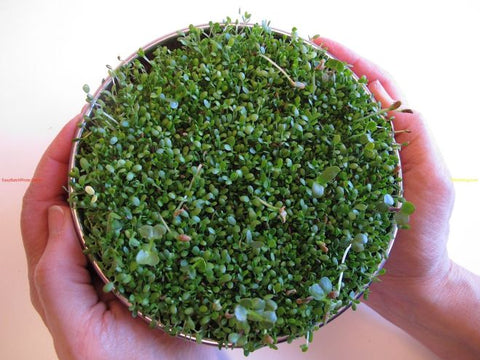
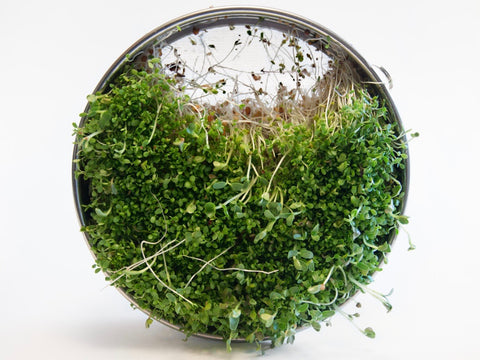
When your plants have open leaves which are green, they are done.
Harvest
Cut the plants just above the medium upon which they have grown.
During the final 8-12 hours minimize the surface moisture of your plants - they will store best in your refrigerator if they are dry to the touch. So if you water try to keep the water off the plants - just water the medium.
When you are ready to store them (I'll remind you that these degrade fast, so eat them instead of storing them if you can), if they are still damp - lay them between some paper towels or anything you prefer, and dry them very gently.
Transfer your crop to a plastic bag or the sealed container of your choice - glass is good.
We sell an amazing Produce Storage Bag that actually extends the shelf life of produce, if you're interested in the best of the best =;-)
Whatever you store them in; put them in your refrigerator - if you must.
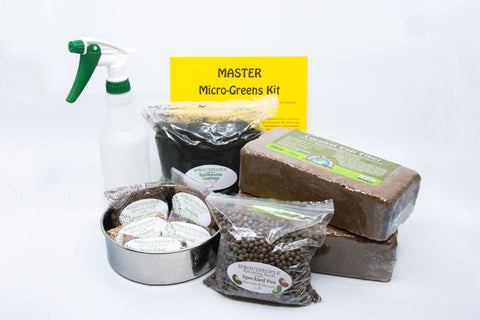
* Dry Seed Volume
See our Notes (below) for Variations.
If using Sproutpeople's Single Harvest Pack and a 5x5 inch Tray; use the whole bag.
2 Teaspoons for our little 5 inch tray.
2 scant Tablespoons for an 10 inch square tray.
4 Tablespoon for an 10 x 20 inch tray.
The first time you grow these you should consider giving quite a bit of space to each seed just to familiarize yourself with the plants' habit. Our suggested Dry Seed Volume will provide you with this space.
Sprout Note:
You can also grow Kale using conventional sprouting methods as described on our Kale page.