Compostable Tray Growing Instructions
Specific Sprouting Instructions are found on the page devoted to the Seed or Mix you are interested in.
Below are the specifics of the Compostable Tray.
Not all seeds require this step. See the seed information page to see if you need to do this for the seed you are growing.
You'll have to use something else to do this, the Compostable Tray is just for growing.
You'll have to use something else to do this, the Compostable Tray is just for growing. Don't Soak unless directed to on your Seed's Detailed Info Page.
There is no Rinsing with this process but there is Watering. It is important to keep the medium moist so that your Micro-Greens
can grow well and happily. These are very small and tender plants, so water from the side - not down onto or through the plants. It is easy to water from the edge of the Tray. You might also consider adding a Spray Bottle,
and possibly some Liquid Kelp Fertilizer to your sprouting supplies.
Sprouting
Between Waterings is when your Micro-Greens really grow. We like a room-temperature (70° is always optimal) spot with plenty of light.
If you over-water the Pads you can tip the Tray to let excess water run off.
Seed Specific Sprouting Instructions
If you have a particular seed type in mind, read on to discover further details of that seed type as pertains to the Compostable Tray.
Refer to the seed's main information page for detailed instructions.
Maximum Capacity = 2 teaspoons of dry seed per Pad (1/2 Tray) or 4 teaspoons per Tray.
PLEASE read your seed's Detailed Instruction Page for more information. Please!
The growing method is virtually identical for all:
Micro-Greens
 The seed information page will have specifics.
As mentioned above you can use virtually any small seed. Here are links to the main Type pages for the seeds that are easily grown with Compostable Trays:
Here is the method:
•Soak and/or Pre-Sprout if necessary - do not Soak
straight Mucilaginous seeds!
See the seed's information page for specifics!
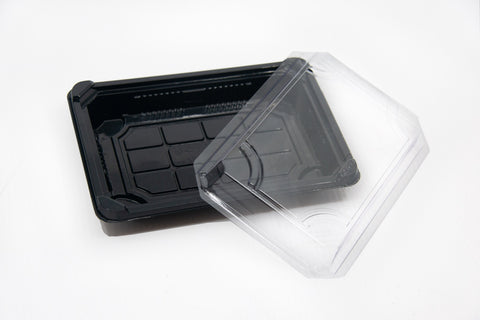
•Set the Compostable Tray in the spot where you want to grow.
•Wet the Hemp Felt thoroughly by soaking in water - squeezing, soaking, squeezing, etc.
•Spread seeds on thoroughly moistened Pad - don't crowd them, they want some room to breathe.
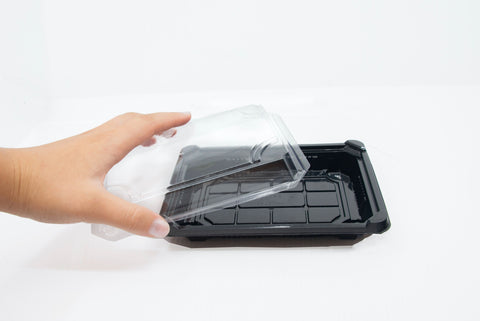
•Cover the Tray during the 1st few days to help retain moisture, by snapping the Clear Cover on. Remove the Cover when the Micro-Greens approach it.
Covering is optional but we suggest that you experiment with covering to see what works best for you - in your climate and with the particular seeds you are growing. The most important factor is........
•Keep the Pads moist (not so soaked that the seeds drown, just thoroughly moist).
•With quite a few Micro-Greens you will seeRoot Hairs. They will look like mould but they are just microscopic roots. Amazing beings, plants!
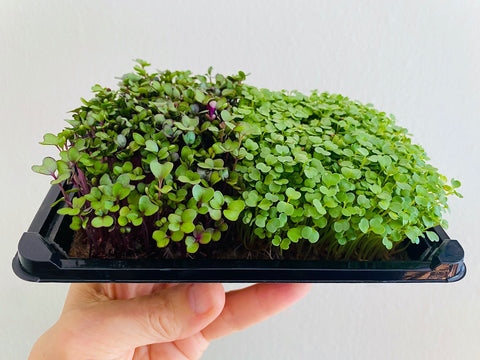
You'll have a great crop of Micro-Greens in a week or two (perhaps a bit longer depending on your climate and what you are growing).
Pull the pad(s) out of the Tray and cut the Micro-Greens off as close to the pad as possible with a scissors and enjoy the ultimate gourmet vegetable. Clean the Compostable Tray - between crops - by washing with soap and water.