Beet Greens
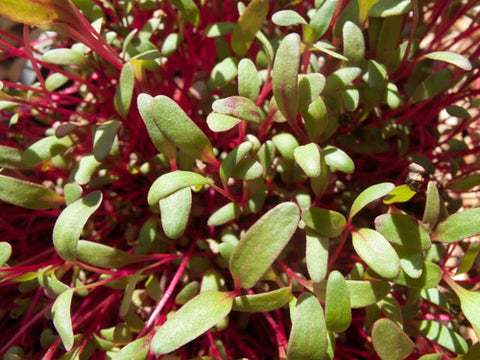
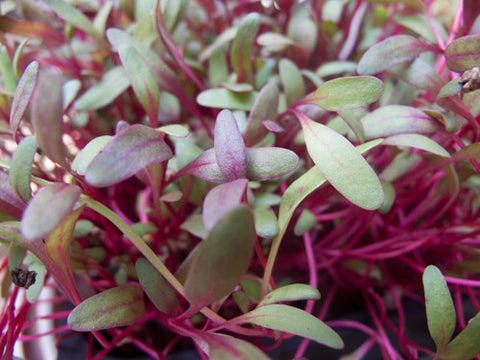
Detroit Dark Red Beets grow into gorgeous, tender Micro-Greens, with deep red shoots topped with lovely leaves - some red and some green with red veins. Do check out our pictures.
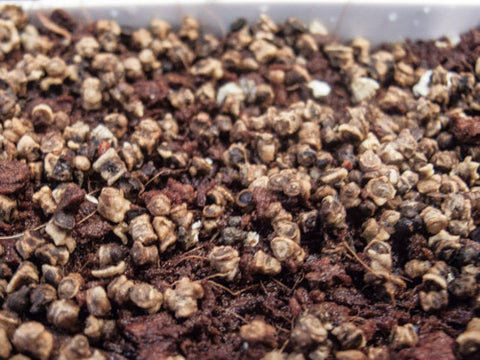
Beets cannot be grown as Sprouts. These are actually irregularly shaped pods that contain multiple seeds.
Note: We sell Beets by the 1/4 pound.
Vitamins A, B, C, E and K
Calcium, Iron, Magnesium, Phosphorus, Potassium, Zinc
Carotene, Chlorophyll, Amino Acids, Trace Elements
Protein: 30-35%
Very tender with a mild beet flavor.
The time it takes to grow a finished 11 - 21 days, or other crop (Micro-Greens, Grass, Greens) from a dry Seed. Note: This "finished" Sprout is our preference. you may grow them for as long as you want! In fact, we suggest that you taste them at every rinse to discover when you like them best.
How to Grow Beet Greens
- Plant 2-3 teaspoons of seed (for a 5x5 inch Tray) on thoroughly moistened medium.
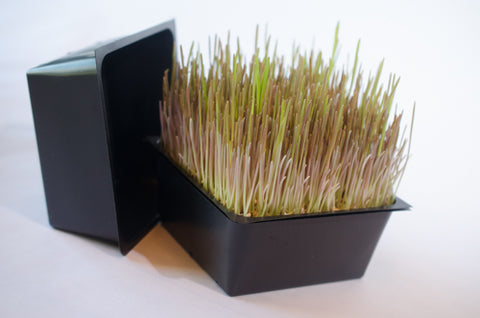
- Cover your crop with another tray, or a plate - to keep light out and moisture in.
- Keep your medium moist by watering lightly as needed. Don't drench!
Use Coconut Coir and you likely won't have to water at all after planting! - When your plants have begun to show leaves, remove cover and move your crop to a well lit location.
- Harvest when the leaves are open and an inch or three tall (day 5-14).
- Cut just above the medium, with a scissors or sharp knife.
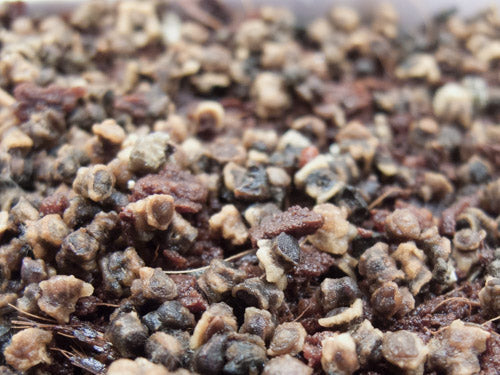
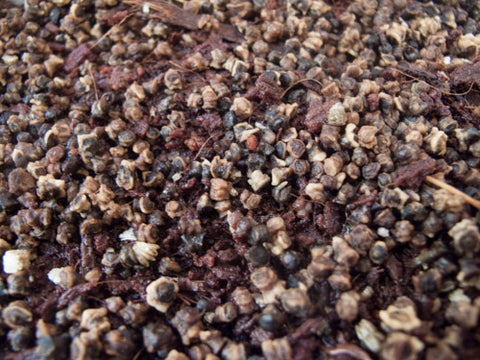
Beet seed planted on my thoroughly moistened medium: 80% Coconut Coir
and 20% Earthworm Castings.
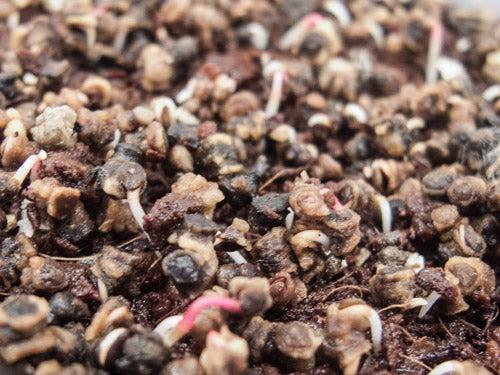
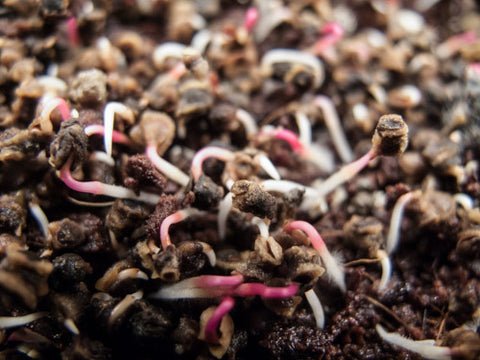
48 hours later there is germination happening.
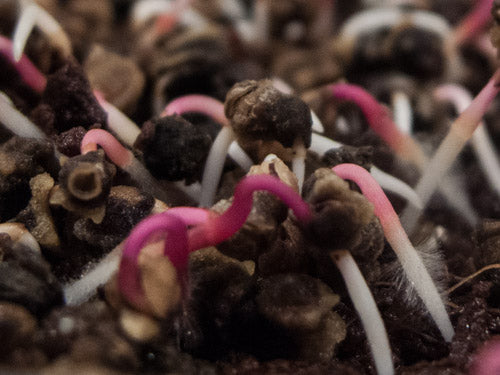
12 hours later. Take a look at those amazing root hairs
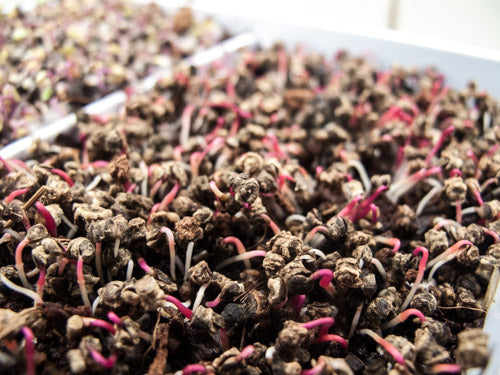
12 hours later....
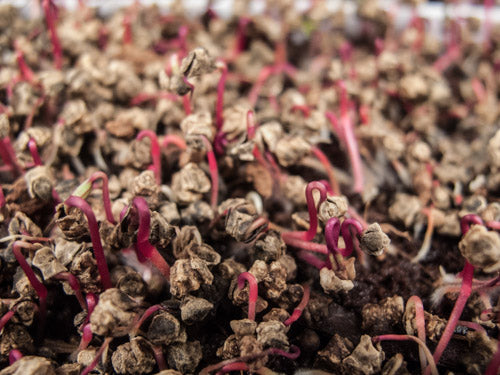
12 hours later....
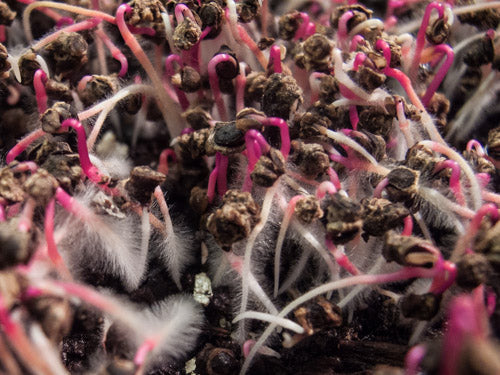
12 hours later...
The root hairs are more obvious now.
Remember - That is NOT mold! Those are tiny tiny tiny roots!
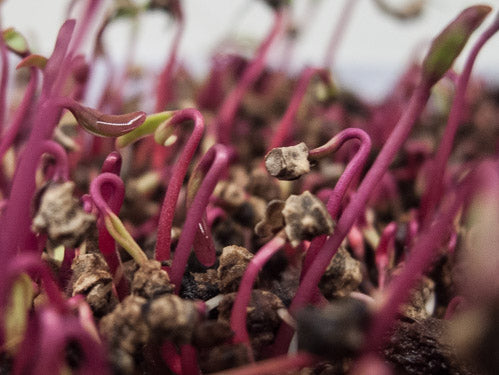
12 hours later....
Though germination is very uneven, this is the time to uncover your crop and expose it to light.
Don't worry! Your Beet Microgreens are going to end up quite full in the tray, and relatively even in height.
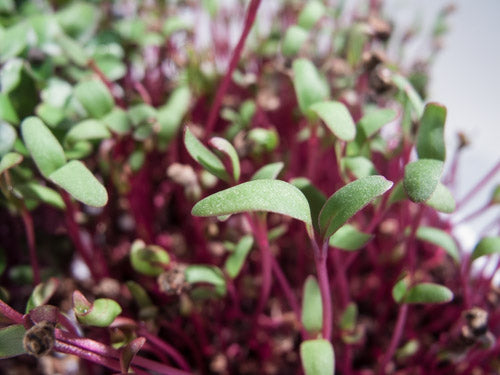
48 hours later - that's 2 whole days that passed between those pictures.
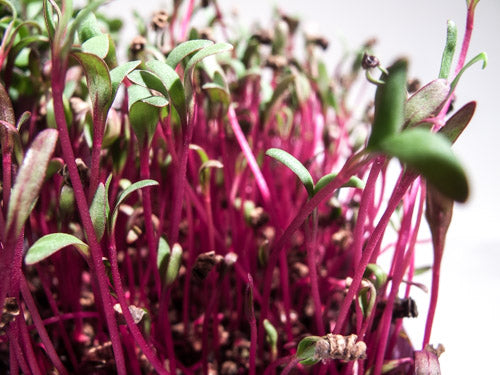
12 hours later....
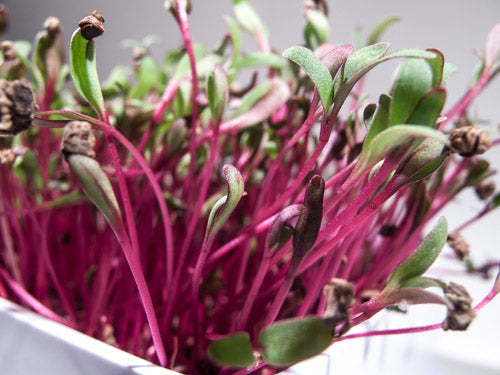
24 hours later....
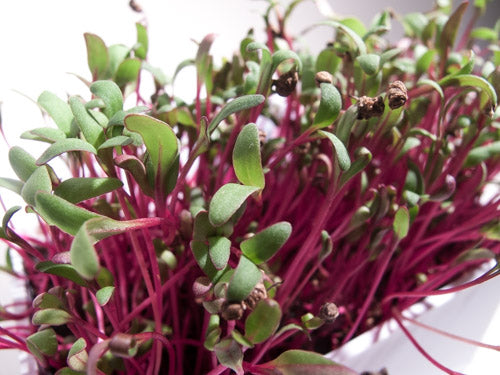
24 hours later....
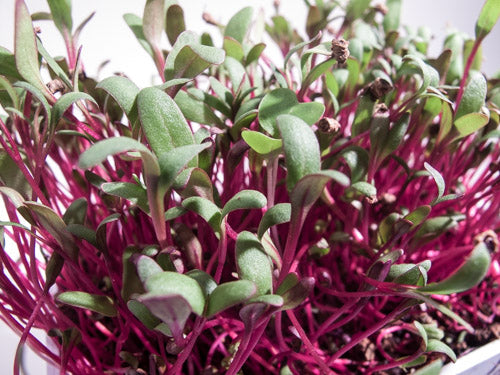
24 hours later
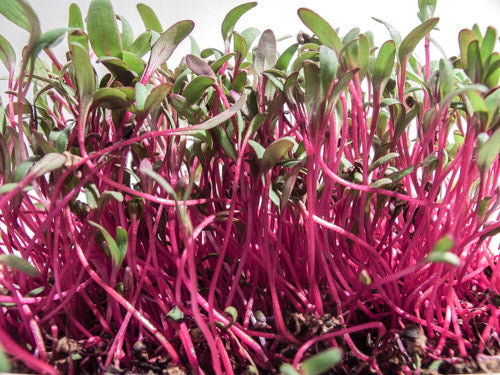
24 hours later. Harvest now by cutting as the shoots off close to the medium.
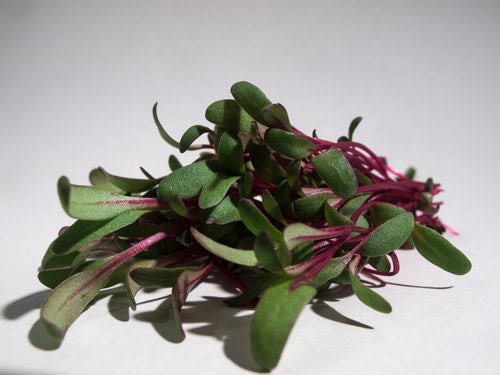
Here they are - all harvested.

Beet seed planted on my thoroughly moistened medium: 80% Coconut Coir
and 20% Earthworm Castings.

48 hours later there is germination happening.

12 hours later. Take a look at those amazing root hairs

12 hours later....

12 hours later....

12 hours later...
The root hairs are more obvious now.
Remember - That is NOT mold! Those are tiny tiny tiny roots!

12 hours later....
Though germination is very uneven, this is the time to uncover your crop and expose it to light.
Don't worry! Your Beet Microgreens are going to end up quite full in the tray, and relatively even in height.

48 hours later - that's 2 whole days that passed between those pictures.

12 hours later....

24 hours later....

24 hours later....

24 hours later

24 hours later. Harvest now by cutting as the shoots off close to the medium.

Here they are - all harvested.
Yields approximately three times as many Micro-Greens (by weight) as seed "planted"
We put quotes around Planted because
the seeds are always spread atop a medium - not planted under.
Before I begin the instructions I need to tell you that these instructions are different than our other Micro-Greens instructions. These instructions are No-Soak and No-Pre-Sprout instructions. You can still grow these by our other instructions if you like. But, at some time in the hopefully not-too-distant future I will have changed the other instructions that need it, and remove this paragraph. Here you go then - faster, easier Micro-Greens! Happy Sprouting!
---PLEASE read the contents of Notes Tab (to the right) for variations and a whole lot more information.---
Grow these on the ultimate medium -
Coconut Coir, soil or a soilless medium like
Baby Blanket or Tencel STG Pads in a
Compostable Tray - or for big crops you can use a
10x20 Tray, or another of our Growing Trays.
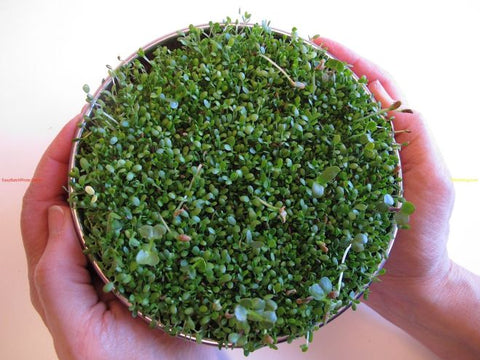
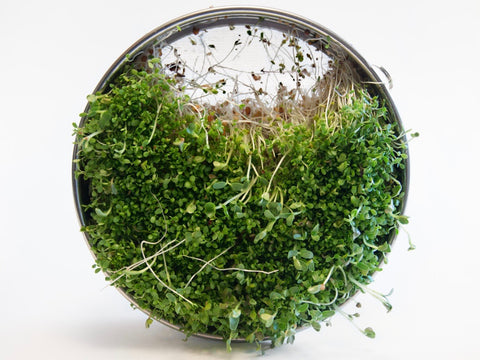
Or - grow them upon a flat Hemp Bag, or in our gorgeous Euro-Sprouter.
I know - too many choices. That's our biggest problem here at Sproutpeople. Too much!
So I'm going to tell you the way I (who has every possible option available) grow Micros.
I always use Coconut Coir! I grow in our Compostable Tray, or
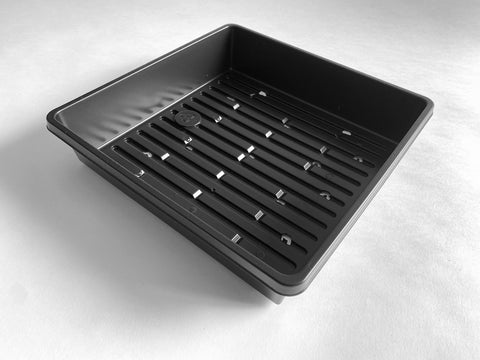
a 5x5 Nursery Tray. If I want True Leaves I mix 20%
Earthworm Castings into my Coconut Coir - for added nitrogen (which is very good for green plant growth), and use a Nursery Tray because it is
deeper - which gives the roots more room to grow - so the plants can grow bigger.
Thoroughly moisten the Medium upon which you are going to grow.
Measure your seed
For a thick crop of Cotyledon (first leaf) Micro-Greens
plant the larger amount. For bigger, True Leaf Micros plant the smaller amount.
Compostable Tray = 1 tsp. - 2 tsp.
5x5 Nursery Tray = 1 tsp. - 2 tsp.
10x10 Tray = 1 - 2 Tbs.
10x20 Tray = 2 - 4 Tbs.
Hemp Bag = 2 - 4 tsp.
Euro-Sprouter = 1 - 2 tsp.
If you are going for True Leaves you really must use a Growing Tray
that is at least 2 inches deep - like our 5x5, 10x10, or 10x20 inch Nursery Trays.
Spread seeds as evenly as you can - all over your thoroughly moistened Medium.
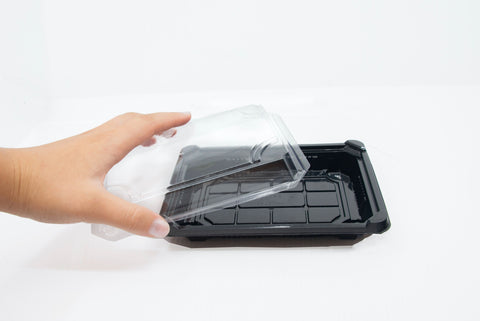
Cover your crop: If you're planting in a 5x5 Tray use another identical tray - up side down. Same thing with other Trays. If using a Compostable Tray snap the clear lid on for the first 2-3 days. If using a Hemp Bag, or another medium - be creative. If it's on a plate then use an identical plate (upside down) as a cover. For the Euro-Sprouter - use the cover that comes with it. It is not mandatory when growing Micro-Greens to cover them at all. Experiment for yourself and see what works best in your climate/location. I cover.
Place your Micro-Garden in a low-light, room temperature location (70° is optimal).
Keep the medium moist by watering or misting with a Spray Bottle every day or three. The deal with watering is that the deeper your medium, the less you need to water, and the plants won't require a lot of water until they get growing big - at which point you may need to drench the medium every day. When using our Compostable Tray (which has no drainage) you can pour off excess water by tipping it.
Note: These wonderful little Brassica plants have a unique root structure. Brassicas will show microscopic roots starting on day 2 or 3. They are called root hairs and are most visible just before watering - when the plants are at their driest. We have an awesome picture of these under the Images Tab - just to the right. These root hairs impress many people as mold - but they are not. When you water your crop the root hairs collapse back against the tap root. Amazing! And hey! The image after that other one shows the baby plants just after watering. Viola! No root hairs! Now you know. Isn't learning fun?!
When your plants grow up and begin to shed their hulls they are ready for light so move them (if necessary) to a well lighted location. If you go with sunlight -
water more frequently. Room light will usually do quite nicely - and will not dry out your medium as
quickly. One consideration here - if you are going for True Leaves you should definitely use sunlight in a warm place.
The most beautiful Micro-Greens we have ever seen were grown in a greenhouse in Burlington, Vermont (in summer) by our friends Spencer
and Mara at Half-Pint Farm. Just had to mention that. They taught me and Lori a lot!
Keep the medium moist by watering regularly. Water from the side if possible to prevent injuring the tiny plants.
When your plants have open leaves which are green, they are done - unless you're going for True Leaves, in which case you need to keep watering and tending for another week or more.
Cut the plants just above the medium upon which they have grown. During the final 8-12 hours minimize the surface moisture of your plants - they will store best in your refrigerator if they are dry to the touch. So if you water try to keep the water off the plants - just water the medium.
When you are ready to store them (I'll remind you that these degrade fairly quickly, so eat them instead of storing them if you can), if they are still damp - lay them between some paper towels or anything you prefer, and dry them very gently. Transfer your crop to a plastic bag or the sealed container of your choice - glass is good. We sell an amazing Produce Storage Bag that actually extends the shelf life of produce, if you're interested in the best of the best =;-) Whatever you store them in; put them in your refrigerator - if you must.
Great Job Sprout farmer!
Beet Micro-Green are visually stunning as you can see in our pictures. Beet isn't inexpensive, but there is nothing that comes close to matching it, visually.
Beet seed is actually an irregularly shaped pod which usually has 2 seeds inside of it. Their Micros grow unevenly at first, but end up quite uniform at harvest time.
Seed Shelf Life: 2-3 years. Store in cool, dark, dry spot. Store in freezer to extend shelf life.
Recommended Sprouters for Beet Greens
So far so good…
Thanks for the thorough instructions!
So I bought some beet seeds around 8 years ago. I really struggled to get them to grow and I reached out and got some great advice from Sproutpeople. Unfortunately even with the help I struggled. They would start fine but then would fail as they began to shed hulls. I would occasionally try again over the years with not enough success to keep at it. So in the last year I had been trying different brands of coconut coir, when I switched to a buffered coconut coir all my other greens I was growing were doing so much better. So I decided to try my 8 year old beet seeds and wow! They are growing amazing. I can't believe even after 8 years 6 of which were spent out of the freezer, that they are growing so well. Now that I am blowing through my seed I recently ordered some new seed. Looking forward to trying. Beet greens are amazingly delicious! Apparently some types of coir have high amounts of sodium, don't know if that was the cause of my issues but if you are struggling I recommend trying a buffered coir.
Not necessary, however I found it helpful to cover seed with a very thin layer of coir and have a weight on it for the first 4 maybe 5 days. It really helps with getting the hulls off.
These are delicious. Follow the sprouting instructions on the order page and you'll be enjoying fresh, delicious sprouts in no time! Sproutpeople offer the best quality seeds for sprouting, service and education on sprouting.
These are delicious. Follow the sprouting instructions on the order page and you'll be enjoying fresh, delicious sprouts in no time! Sproutpeople offer the best quality seeds for sprouting, service and education on sprouting.

