
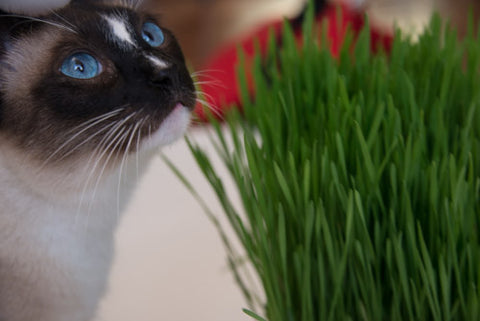
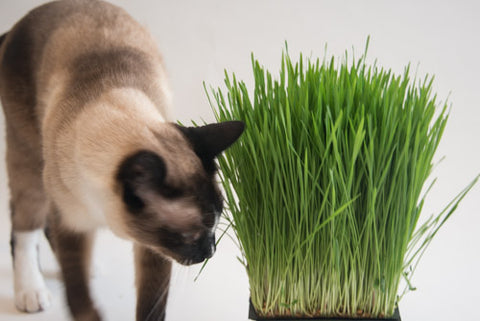
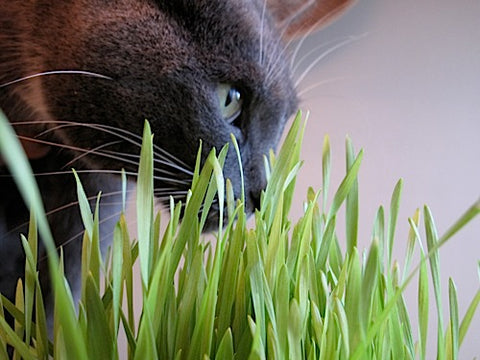
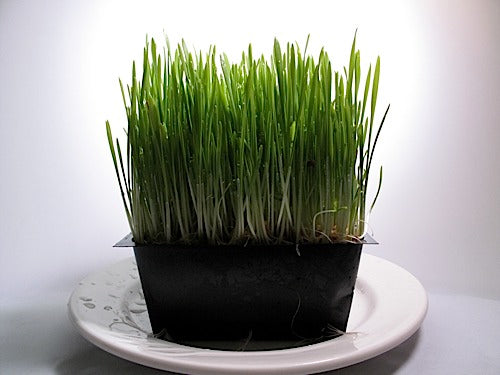
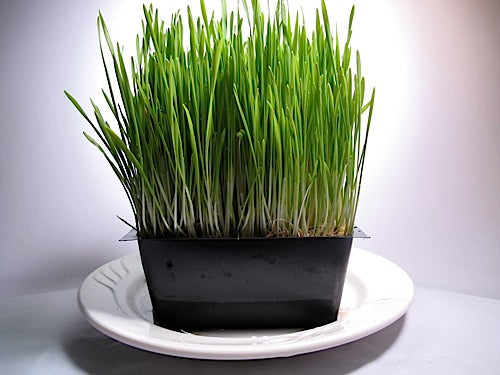
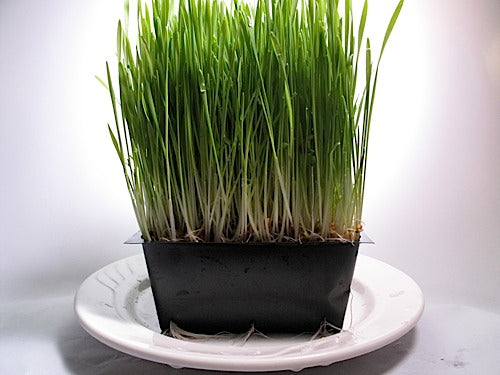
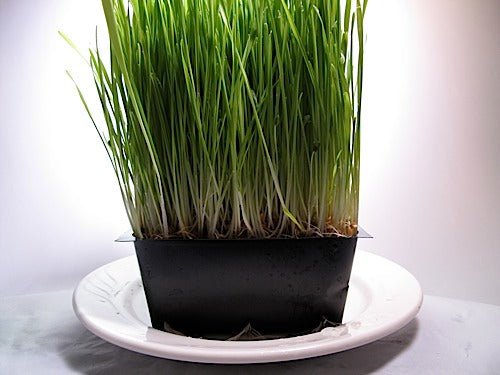
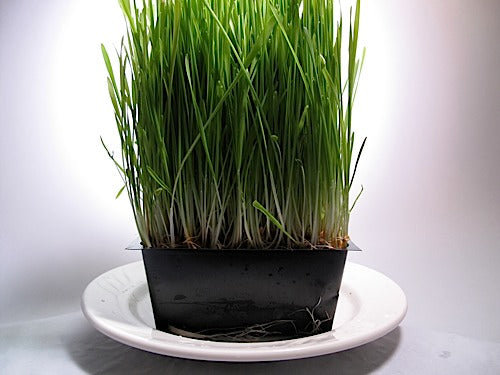
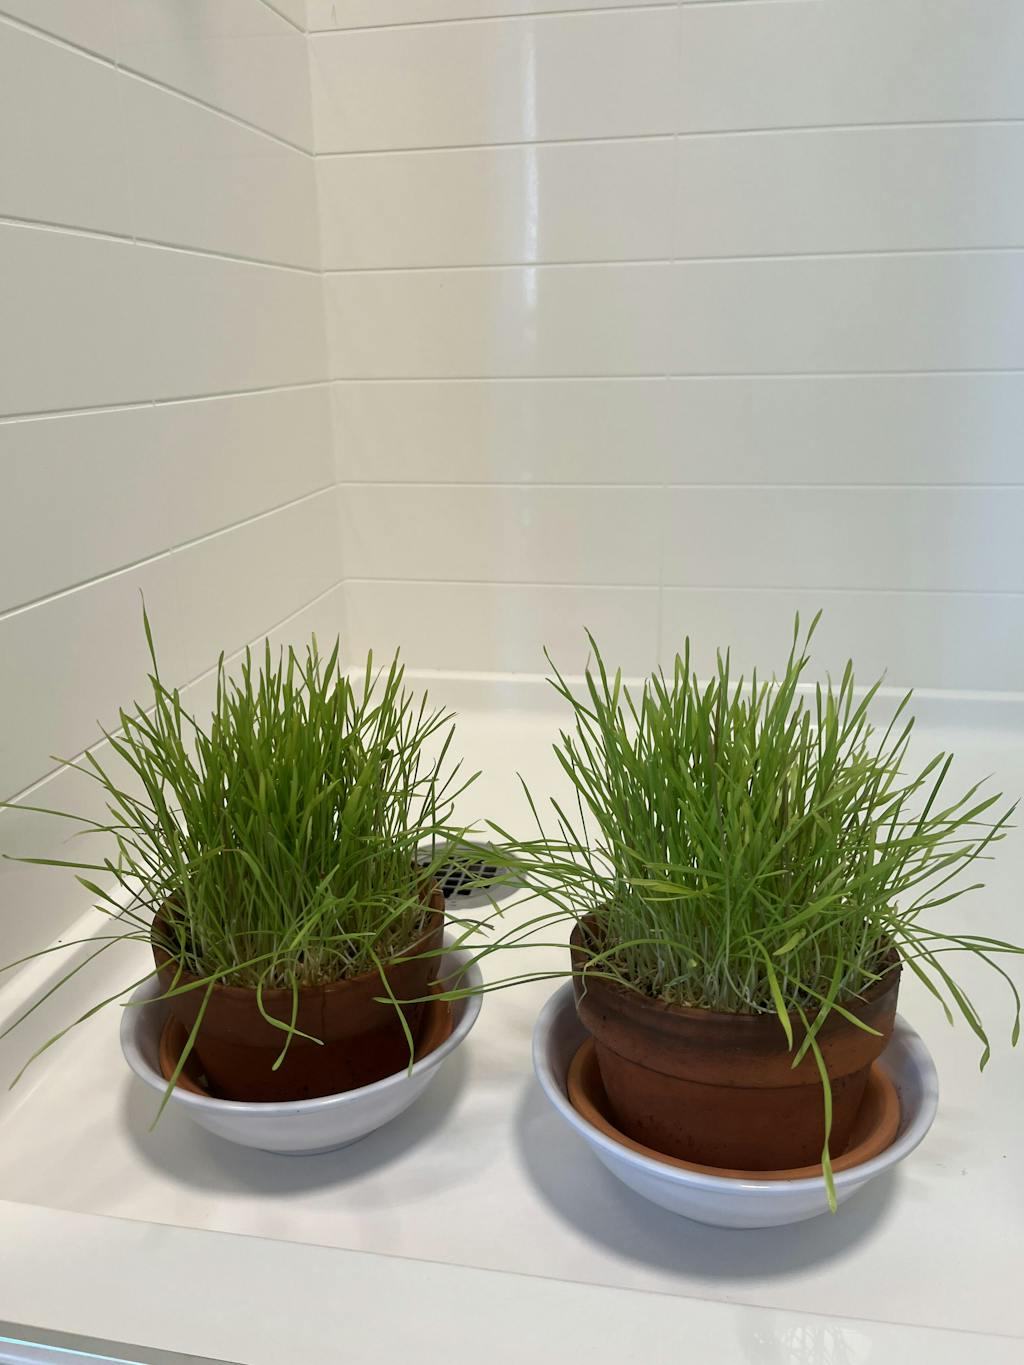
Cat Grass
Wheat, Oats, Rye, Barley, Flax
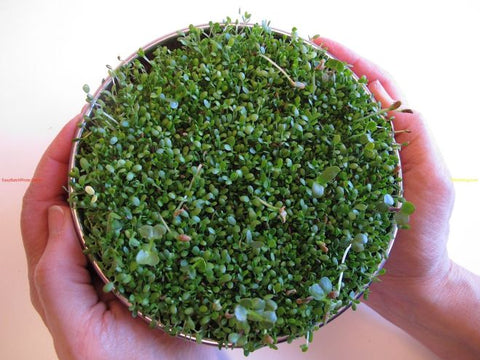
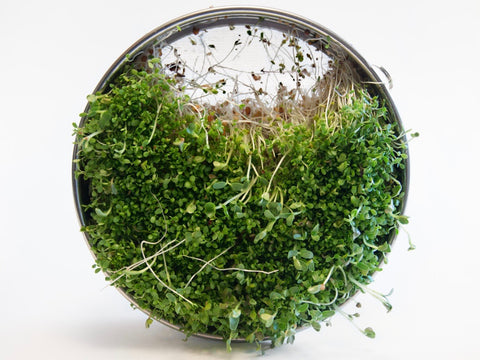
Salad for your all pets! Our special non-puking formula has pleased many thousands of cats and cat people since 1993. It has also pleased rabbits, dogs, guinea pigs, iguanas, turtles and many more of our other-than-human friends.
Vitamins A, B, C, E and K
Calcium, Chlorophyll, Iron, Lecithin, Magnesium, Pantothenic Acid
Amino Acids, Trace Elements, Phosphorus, Potassium
Protein: up to 30%
The time it takes to grow a finished 6 - 10 days, or other crop (Micro-Greens, Grass, Greens) from a dry Seed. Note: This "finished" Sprout is our preference. you may grow them for as long as you want! In fact, we suggest that you taste them at every rinse to discover when you like them best.
How to Grow Cat Grass
- Soak 1/4 cup of seed in cool water for 6-12 hours.
- Drain off soak water. Do not ever soak again.
- Rinse thoroughly.
- Drain thoroughly.
- Rinse and Drain with cool water every 8-12 hours until your seeds have the tiniest root showing.
- Plant on a thoroughly moistened medium, in a tray.
- Cover your crop with another tray or plate, to keep light out and moisture in.
- Keep your medium moist by watering lightly as needed. Don't drench!
- When your Grass is 4-12 inches tall - feed uncut to your Cat or other friends and family.
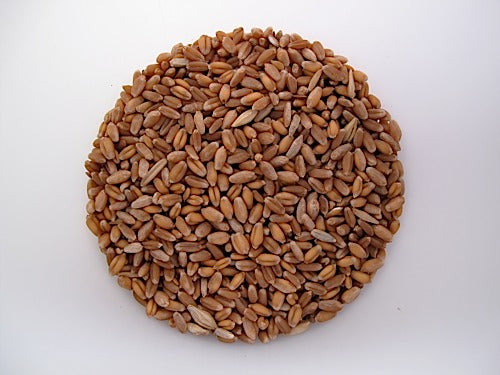
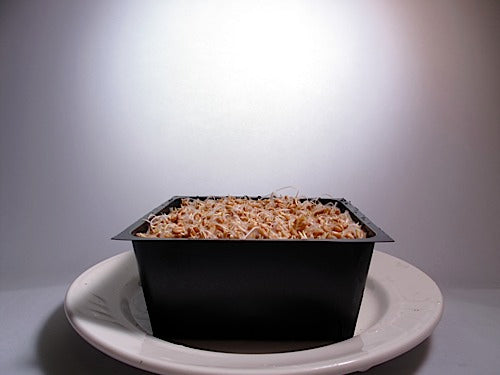
Dry Seed awaiting Soaking
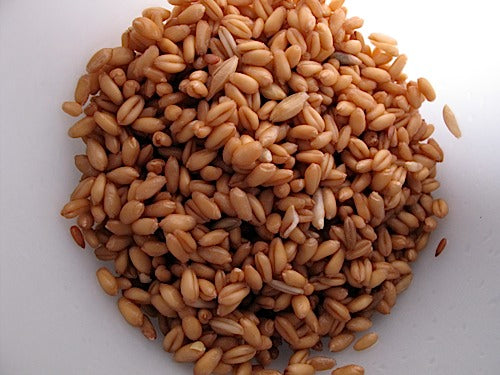
12 hours later... After Soaking, Rinsing and Draining well.
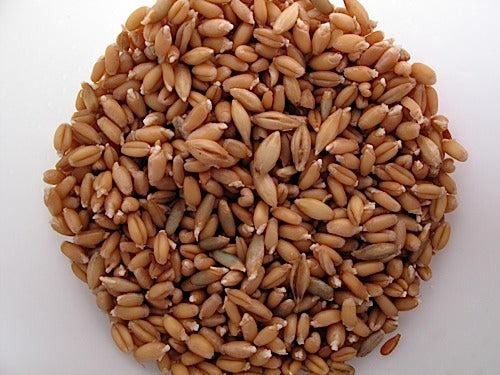
12 hours later... Another Rinse/Drain cycle. These are perfect for planting. They are just barely sprouted.
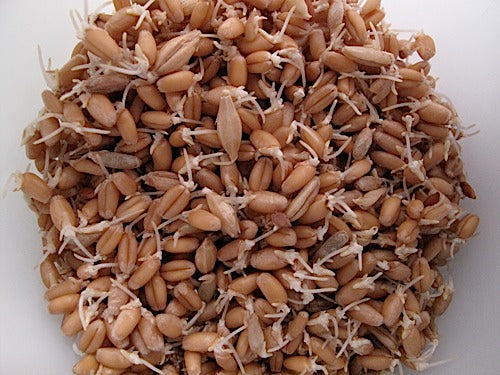
12 hours later... If you kept sprouting, instead of planting, you're still good. Don't wait any longer to plant them. give 'em another Rinse and spread them atop that which you are growing on.
Planted atop whatever....
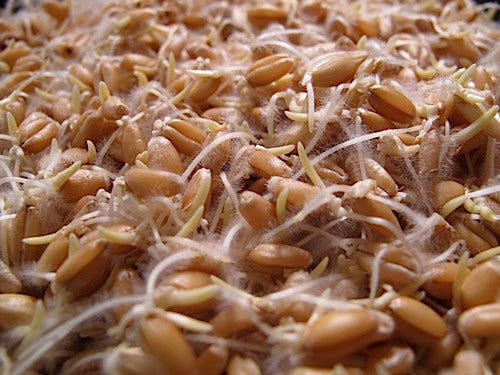
12 hours later - look at all those Root Hairs.
12-24 hours later.
24 hours later.

24 hours later.
24 hours later.
24 hours later.
24 hours later.
24 hours later.
24 hours later. Don't make your kitty wait any longer =:-)
Dry Seed awaiting Soaking
12 hours later... After Soaking, Rinsing and Draining well.
12 hours later... Another Rinse/Drain cycle. These are perfect for planting. They are just barely sprouted.
12 hours later... If you kept sprouting, instead of planting, you're still good. Don't wait any longer to plant them. give 'em another Rinse and spread them atop that which you are growing on.
Planted atop whatever....
12 hours later - look at all those Root Hairs.
12-24 hours later.
24 hours later.
24 hours later.
24 hours later.
24 hours later.
24 hours later.
24 hours later.
24 hours later. Don't make your kitty wait any longer =:-)
How much you soak depends on the area you are planting - see here. Yields approximately as much Grass (by weight) as Grains planted.
Our Instructions and Notes (below) use Purple Text when referring to growing Grass on a medium other then soil.
Grass will grow much better if you sprout it prior to planting!
Put seed* into a bowl or your Sprouter. Add 2-3 times as much cool (60-70°) water. Mix seeds up to assure even water contact for all. Allow seeds to Soak for 8-12 hours.
Empty the seeds into your sprouter if necessary. Drain off the Soak water. Use it to water plants, or whatever you like. It has nutrients in it.
Rinse thoroughly with cool (60-70°) water and Drain thoroughly.
Set anywhere out of direct sunlight and at room temperature (70° is optimal) between Rinses. This is where your sprouts do their growing. We use a counter top - in the corner of our kitchen, but where the sprouter won't get knocked over by cats, dogs, kids or us. We don't mind the indirect sunlight or the 150 watts of incandescent light, because light just does not matter much. A plant can only perform photosynthesis when it has leaves. Until then light has little if any effect. Don't hide your sprouts.
Rinse and Drain again in 8-12 hours. And, perhaps one more... Rinse and Drain in 8-12 hours. And, conceivably one more... Rinse and Drain in 8-12 hours.
The goal is to have a just the hint of a Root - or a very short Root before planting. Most of the seeds will have that hint, or have sprouted tiny (1/16 - 1/8 inch) roots after just 1 or 2 Rinse and Drain cycles.
Planting
Thoroughly moisten the soil. Allow puddles to dry. Sometimes you may need to use your fingers to make sure the soil is moist all the way down to the bottom of the tray. Water, mix, water, mix, etc. Sometimes you don't have to do that - it depends mostly on how dry the soil is before you begin moistening it.
Baby Blanket/Tencel: Prepare the pad: Cut it to fit your Tray if necessary. Soak it in water or better yet, Kelp Fertilizer enriched water (You don't NEED fertilizer for Grass, but we sometimes use it when we grow without soil.) until thoroughly saturated (fold it up and push it into the liquid - use a pot or bowl or something similar to hold it). Unfold it and re-fold differently or do whatever makes sense - the goal is to get the pad THOROUHGLY soaked. Spread the wet pad across the bottom of your Planting Tray. Proceed...
Vermiculite: Vermiculite absorbs liquid so readily and holds it so supremely that you need little of it. We use 3 Cups for an 10 x 10 inch tray and 6 Cups for an 10 x 20 inch tray. If you're using another tray, make it 1/4 - 1/2 inch deep. Spray water evenly across the surface then spread it out as evenly as you can. We like to use Kelp Fertilizer enriched water (You don't NEED fertilizer for Grass, but we sometimes use it when we grow without soil.) so we just pour it on until thoroughly saturated and then spread it out. If you are using one of our Tray Sets, you can use the Drip Tray to help. The amount of liquid to use is this: a little more than one quart for an 10 x 20 inch tray. You don't want more than a little left in the Drip Tray. Pour off what water remains above the ridges of the Drip Tray. Proceed...
Spread seeds evenly on thoroughly moistened soil or medium. Rinse your seeds one last time and then sprinkle them across the planting medium. Spread them out as evenly as you can. We use a lot of grain and though some literature will tell you that your seeds should not ever lay atop each other, we have found from years of experience and thousands of Trays of Grass grown that that is bunk! You will learn for yourself that Grass produces a plant that takes up less room than the grain did, and so to maximize your yield your seeds must lay atop each other to some degree. The thing to watch is this: If you find mold or fungal problems in your Grass then lessen the amount of grain you plant. The hotter/more humid your climate is the more of an issue the mold/fungus is. As always, you need to adapt to your own climate and seasonal conditions. And learn as you go - this is really easy and fun stuff to learn!
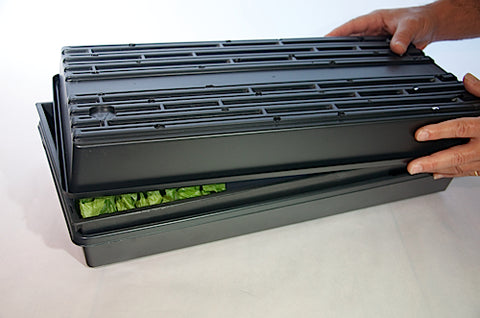
Cover the planted tray with an inverted tray (the Cover Tray) - to keep light out and moisture in. By inverted I mean that the lip of the Cover Tray rests directly on the lip of the Planting Tray - so the bottom of the Cover Tray is facing up.
Note: Your covering tray should have holes or slits in it so that some air circulation exists. Without this very minimal air flow you might have mold or fungal problems.
Place in a low-light, room temperature location. 70° is always optimal but Grass will grow very well in cooler temperatures also.
Watering
Water lightly once or twice a day. The goal is to keep the sprouts moist until their roots bury themselves in the soil/medium - at which point your goal is to keep the soil/medium moist. Spraying the sprouts is best - whether you use a Spray Bottle or sink/faucet sprayer - just try to make sure that every sprout gets rinsed and quenched until they bury their roots. You may also use some Kelp Fertilizer if you like.
Water the medium. Once the roots are buried, all you need to do is keep the medium moist - the seeds and subsequent Grass will get the moisture they need through their roots. Water from the side if possible, to prevent injuring the tender blades.
The Soilless alternative. Baby Blanket and Tencel will dry out more quickly than soil in most circumstances, so you should either water more often or experiment with our somewhat risky trick:
Use the Drip Tray to hold some water. The roots will actually sit in this, so don't go crazy - too much can drown your plants and/or lead to fungal or mold problems. Just leave as much water as the Grass can drink in a day - and then add more the following day. The amount is dependant on the climate (humidity especially) you're growing in, so you'll have to learn this for yourself. We suggest that you start with 1-2 cups in the Drip Tray. Lift the Planting Tray to see how much is left after 4, 8 and 12 hours. If the Drip Tray is dry add more water - if there is still water 24 hours later then cut back the next time you add water. Pretty simple really, and not as risky as we make it sound - it is really a time saver and can produce happier healthy grass. Leaving too much water for too long will lead to funkiness. The roots can go brown, and the smell will be unpleasant. Just keep an eye open and use common sense. Be the plant!
Once again, we do recommend Kelp Fertilizer enriched water for soilless growers. Soil growers may use it too of course, but the soil does have some nutrients already, so it is not nearly as important for you.
Vermiculite holds water better than anything, but the same method works for it: Use the Drip Tray to hold some water. The roots will eventually grow into this, so don't go crazy - too much can drown your plants and/or lead to fungal or mold problems. Just leave as much water as the Grass and Vermiculite can drink in a day and then add more the following day. The amount is dependant on the climate (humidity especially) you're growing in, so you'll have to learn this for yourself. We suggest that you start with 1-2 cups in the Drip Tray. Lift the Planting Tray to see how much is left after 4, 8 and 12 hours. If the Drip Tray is dry add more water - if there is still water 24 hours later then cut back the next time you add water. Pretty simple really, and not as risky as we make it sound - it is really a time saver and produces happier healthy Grass. Use Kelp Fertilizer too. We probably give more water than is necessary, but we end up with great crops and the Grass keeps growing even after we cut it - even if we don't add water daily. Vermiculite is great stuff!
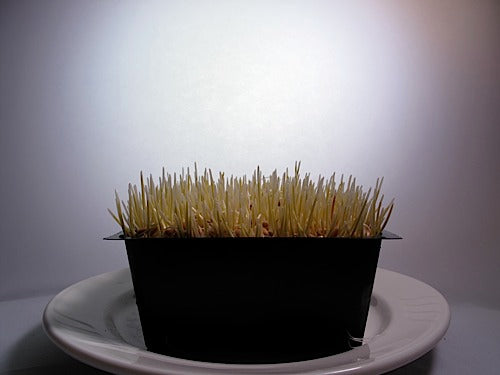
Uncover your Grass on day 3, 4 or 5 - or whenever it's 1-2 inches tall. We usually wait until it pushes the covering tray up (it really will do that - it is remarkable!)
Move to a well lit location If you use direct sunlight (a very good idea for Grass) be prepared to do more watering. Every crop needs more watering when grown in a brighter, hotter location. Keep it moist by watering the soil/medium daily. Watch it grow. It takes about 4 or 5 more days to get to....
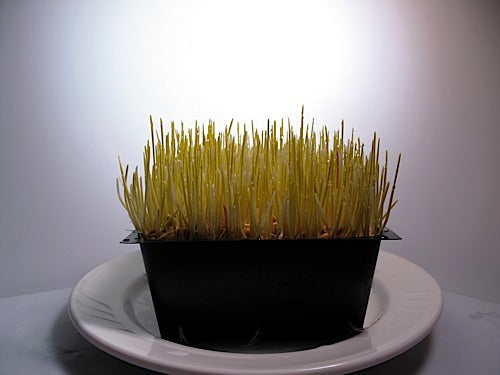
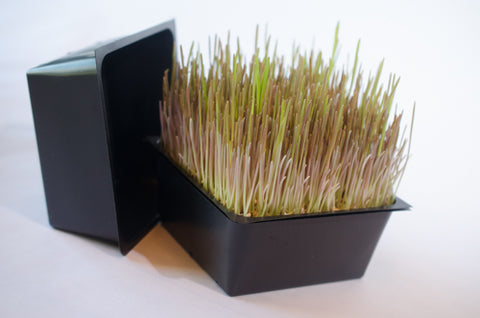
Harvest by cutting the Grass just above the soil/medium when the Grass is 6 or more inches tall (actually height is just a matter of yield - you can cut it any time you want to).
We believe that you will get the best flavor and nutrition from freshly cut Grass. We cut JUST prior to juicing and we feel the difference! But, you are better off juicing week old Grass than no Grass at all, so do what you must! Drink More Juice!
If you are going to store your crop: During the final 8-12 hours minimize the surface moisture of your Grass - it will store best in your refrigerator if it's dry to the touch. So if you water try to keep the water off the plants - just water the soil/medium.
Transfer your crop to a plastic bag or the sealed container of your choice. We offer a great Produce Storage Bag which extends the shelf life of all produce stored within it. Whatever you use, put your crop in your refrigerator. Use it/juice it as soon as possible.
Amount of Seed to Use
If using Sproutpeople's Single Harvest Pack - use the whole bag on our 5 inch tray (or similar).
Or Use: 1/4 - 1/3 Cups Dry Grain for a 5 inch square Tray. 1 - 2 Cups dry grain for an 10 inch square Tray. 2 - 4 Cups dry grain for for an 10 inch x 20 inch Tray.
The surest way to know what amount of seed to use: Spread dry seed on the bottom of your Tray so that the seed is spread evenly but densely.
Grass for cats, salad for cats (and kittens, and a plethora of other creatures), whatever you call it - it is really amazing stuff! Cats and other creatures need vegetable matter in their diet, just like people, and Kat Grass supplies that along with great nutrition. We even include a little Flax which is good for their coats. Many of you know that your cats need this, because they eat your house plants - that is the surest sign that your cat will love this treat. Cat Grass is easily grown - on soil or a soilless medium - like Hemp Felt. All you do to serve your cat (etc.) is to place the container of living grass near their food dish or in some other place they'll find it.
Wheat is best stored in a cool location - at home, we keep ours in a freezer. There is no need to thaw your seed before Soaking.
Planting Density
The more densely you plant the seed the less air circulates around the individual blades of Grass. This can cause some fungal growth - we call it “fuzzies”. This is not a problem, except that it is unattractive. If you are consuming this as juice - just rinse it off when you harvest the Grass. If you hate it - increase air flow by planting less seed. Additionally, you may move your Grass to a better ventilated area. In summer we grow our Grass outside (from the point when we uncover the tray) for optimal air circulation.
Planting Medium
We grew Grass - on soil - in Trays, for over 20 years. But, we now have alternatives: Soilless mediums - Coconut Coir - our all-time favorite - and Hemp Felt - a thin organic material that you soak before planting upon. Hemp Felt holds moisture well and when used with organic liquid Kelp Fertilizer, is the cleanest (least messy) way to grow strong crops. Coconut Coir is more like soil. It holds moisture phenomenally well and provides nutrients as needed to your growing crop. Used in conjunction with Earthworm Castings it is the perfect medium!
You will notice in our Video - A Time Lapse: Wheatgrass Growing that we used only a piece of Hemp Felt on a plate. So, obviously that too is possible. We don't have this method in our instructions, but if you want to do it - all you need to do - in addition to following the rest of our instructions - is to water FREQUENTLY. I pumped a Spray Bottle thousands of times over the course of that time-lapse @:-)
Soil Notes
Virtually any soil will do for Grass. We used sterile bagged soil (usually composted cow manure) when we were professional growers, but any sterile bagged soil will do. You can find some at your local garden center. You can use expensive soil if you prefer - it is your choice - always. Of course Organic is best, but it is usually quite costly.
The amount of soil you use is up to you. The reality is this: As your plants grow they need more and more water. They get their water from the soil. The more soil you use - the more water it can hold = the less frequently you need to water.
Hydroponic Grass
We do not grow hydroponic Grass - we've tried but have never gotten the yields we get with soil. Now that we have a soilless alternatives like Coconut Coir and Hemp Felt we are even less interested in hydroponic Grass growing, but there is a theoretical plus to growing Grass without a medium - you can juice the entire crop - grains, roots and grass, so if you want to try - go for it! Go to Val at Go Green/Green Smoothie - she is the meister of hydroponic Grass. Tell her us Sproutpeople sent you!
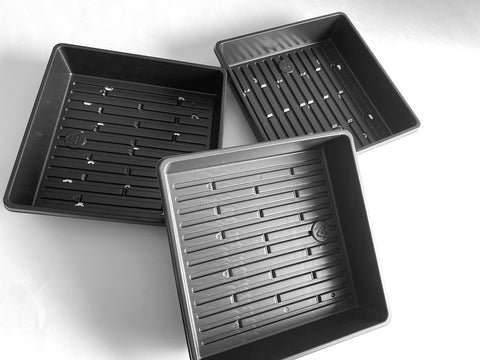
Tray Notes
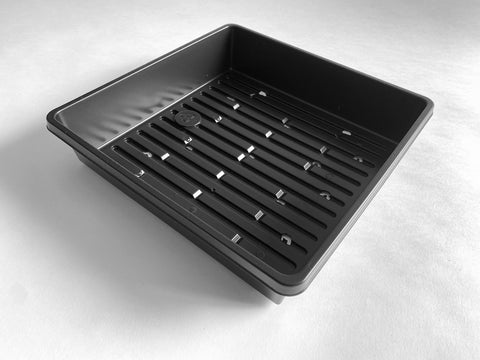
Your Planting Tray (the one with the medium in it) MUST have drainage holes or slits! Nothing will grow well in a medium that can not drain - that condition is commonly called "flooded". We do use the Drip Tray to hold some water at times in the growing process. (see instructions - in the Growing Instructions tab).
As I've said elsewhere on the site, we hate dogma, so take my dogma with a grain of salt. You can grow in trays without drainage (the amazing people at the Hippocrates Health Institute have long done so), but you do have to be able to drain excess water away. Tipping is a possibility, but we think it risky - especially for the novice grower, hence my dogma.
Going for "Split Blades"
There are some who maintain that Grass doesn't reach its full nutritional value until its blades "split" - or a second blade grows. It is pretty difficult to grow Grass this big in a small container. It usually wilts before it can do this, but it is possible. Just keep your crop moist and examine the blades of Grass - from day 8 on - to see if they are "splitting". It happens low on the blade - within the first inch or so above the medium. Harvest as soon as you see the split.
As always, we think it is most essential that you enjoy what you grow. The more you like what you grow, the more you'll want to consume it. Whenever you consume it - it will have a whole lot of nutritional value. If you prefer it younger (we do), stop and harvest according to our instructions. If you want to grow it more, go for it. It's all great!
If you are going for this, we advise that you plant on mix of 75% Coconut Coir enriched with 25% Earthworm Castings, which adds a lot of nitrogen for the Grass to draw upon. Nitrogen is the nutrient a plant needs to put on green growth.
Re-Growing Your Crop
Grass can produce a 2nd and even 3rd crop - so you may continue to water after you cut your first crop. The 2nd and (more so) the 3rd crop will not be as tender, nor usually as tall, but it is good to try growing at least a 2nd crop. Decide for yourself if it is worth it! Coconut Coir is the best medium, as far as water retention is concerned - if you want to go for multiple cuttings, but Coir or soil enriched with Earthworm Castings is perhaps a better choice as it gives the Grass nutrients to draw upon. Whatever you use, it's worth a try if only for the experience.
Re-Using your Medium
Do NOT try to re-use your Growing Medium. You just need to start over when you plant a new crop. We have a short Video on the subject =:-)
Recommended Sprouters for Cat Grass
I have 2 indoor ragdolls who have been eating the Cat Grass for years, they eat it as soon as they wake up before breakfast. Also if ever they have been upset in their tummies, they would eat it and feel more tranquil. The grass is consistently tender and healthy, I can not recommend it enough!


Soaking seeds now.
Thank you so much.
Our cat Tina Turner **loves** this! We always have some out for her to eat whenever she wants. Thanks for making it so easy!
I am a long time customer. No place is better. Great personalized customer service. Seeds are great and the price is one of the best. Very happy with everything about this company.
My cats like this grass better than the grass I’d buy at the store. It’s also cheaper to buy it by the lb versus a pre bagged bag of seed from pet stores. My dog likes it too and it does not make her throw up like the other seed I was buying.
