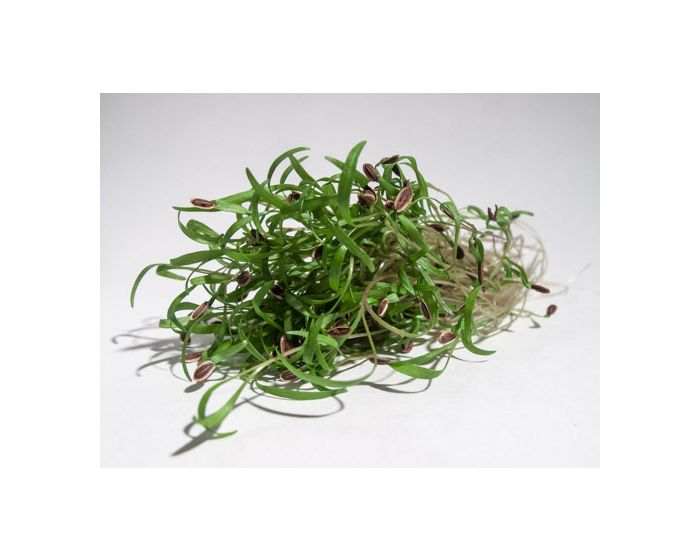
Growing Dill Micro-Greens
Growing Dill Micro-Greens
$0.00
/ Units
Out of stock
Max allowed quantity 10
FREE Shipping on domestic orders $120+
Growing Basics
-
SoakNoThe amount of time your seeds should soak in cool water. Soaking is how we begin the sprouting process in most cases.
-
Rinse / DrainNoHow often your seeds should be watered. Rinsing thoroughly and then draining as much water as possible are key components to growing great sprouts.
-
PlantDay 1Approximate time you will plant your crop if growing Grass, Greens, or Micro-Greens, after soaking your seeds. If your seeds do not soak they will get planted right off the bat.
-
Harvest12-30 daysThe time it takes to grow a finished Sprout, or other crop (Micro-Greens, Grass, Greens) from a dry Seed. Note: This "finished" Sprout is our preference. you may grow them for as long as you want! In fact, we suggest that you taste them at every rinse to discover when you like them best.
Growing Instructions
Plant 1-2 teaspoons of seed (for a 5x5 inch Tray) on thoroughly moistened medium.
No need to cover. Light helps Dill Germinate!
Keep your medium moist by watering lightly as needed. Don't drench!
Use Coconut Coir and you probably won't have to water at all after planting!
Harvest when the leaves are open and an inch or two tall (day 14-21).
Cut just above the medium, with a scissors or sharp knife.
